Water Kefir Recipe for Beginners
You’re about to learn easy, reliable water kefir recipes you can make at home. These three beginner-friendly recipes use the same simple base and show gentle flavoring ideas. I’ll walk you through tools, timing, and common mistakes so you get bubbly, bright results every time.
Start with one basic batch. Then try the lemon-ginger and a floral hibiscus berry version. They’re forgiving and perfect for experimenting.
Water Kefir Recipe For Beginners
Here are three clear recipes that build on the same starter. You’ll get a classic ferment, a zesty citrus-ginger version, and a floral berry option. Each recipe lists exact ingredients and step-by-step directions for first and second ferments.
1. Classic Water Kefir
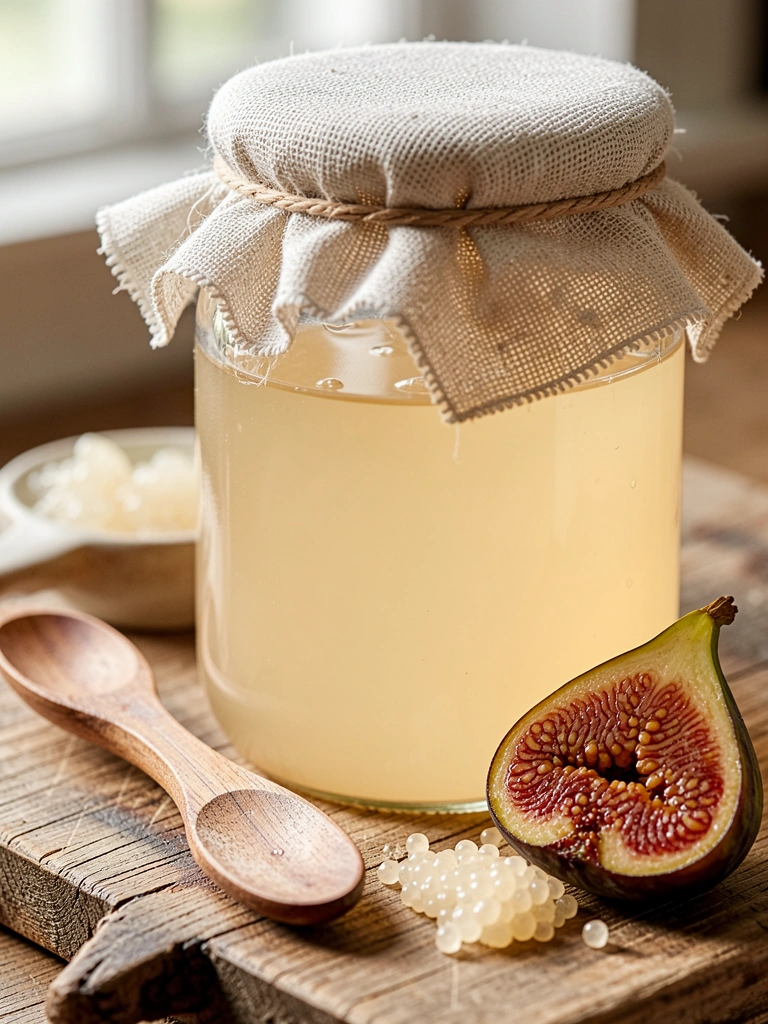
This version tastes clean, slightly sweet, and mildly tangy with a light effervescence. It’s the perfect everyday probiotic drink and the base for all flavored variations.
Ingredients
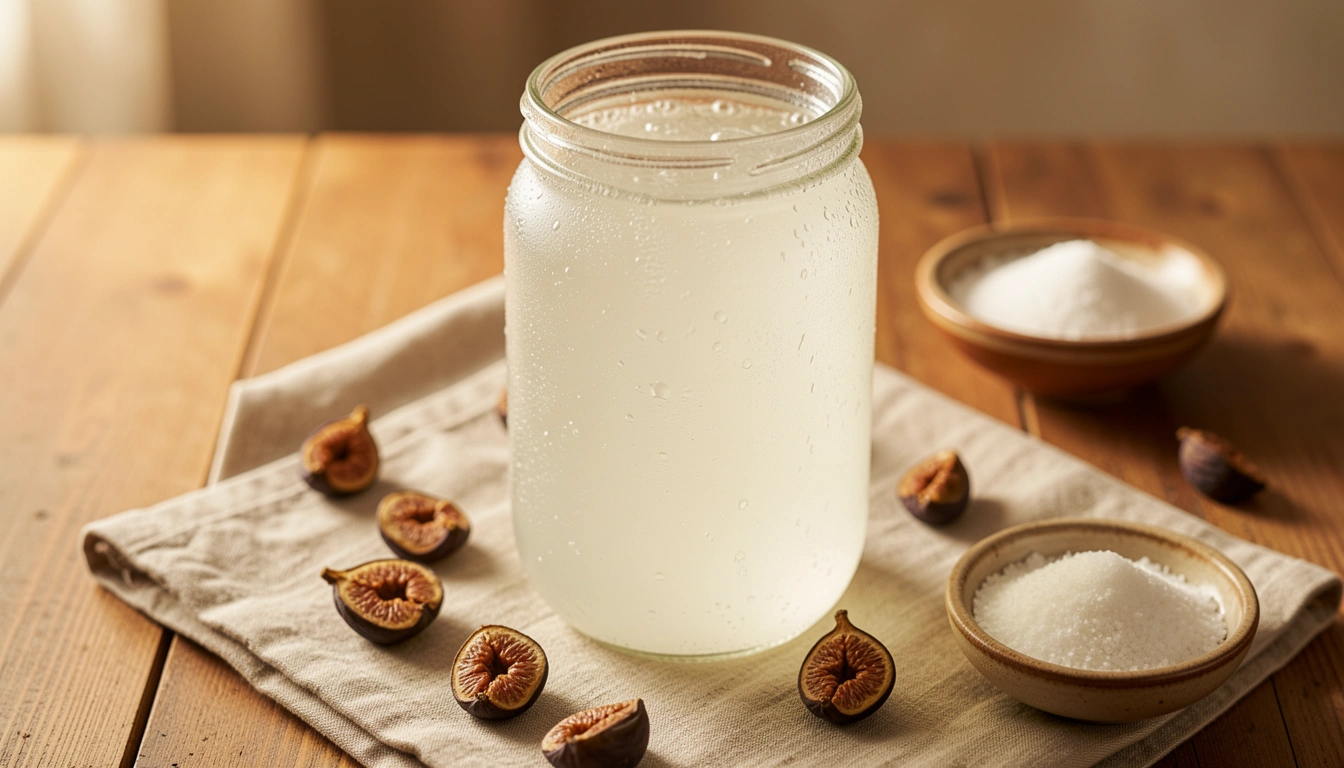
- 1 quart (1 L) filtered, non-chlorinated water (room temperature)
- 3–4 tablespoons active water kefir grains (fresh)
- 1/4 cup (50 g) organic cane sugar
- 1–2 dried figs or 2 tablespoons raisins (optional, boosts nutrients for grains)
- Pinch of mineral salt (optional, helps minerals for grains)
Step-by-Step Instructions
1. Dissolve the sugar
Use a heat-safe cup to dissolve 1/4 cup sugar in 1/2 cup hot filtered water. Stir until fully dissolved. Let cool to room temperature (about 20–26°C / 68–78°F) before adding to the jar.
2. Combine water and grains
Pour the cooled sugar water into a clean 1 L glass jar. Add the remaining filtered water to reach 1 L. Gently add 3–4 tablespoons of water kefir grains and the dried fig or raisins if using. Stir with a wooden or plastic spoon. Avoid prolonged metal contact with grains.
3. Cover and ferment
Cover the jar with breathable cloth or a paper coffee filter and secure with a rubber band. Place the jar in a warm spot away from direct sun (ideal 68–78°F / 20–26°C). Ferment for 24–48 hours. You’ll see small bubbles and a slightly tangy aroma when ready.
4. Strain the grains
Use a plastic or nylon fine mesh strainer to separate the grains from the liquid into a clean bowl. The liquid is your water kefir. Transfer grains to a fresh jar with new sugar water to start the next batch.
5. Bottle or drink
Pour the strained kefir into a glass and enjoy immediately, or move to bottles for a second ferment to add carbonation and flavor. If drinking plain, chill and serve over ice.
6. Store and care for grains
Store grains in fresh sugar water if you’ll brew again soon. For longer breaks, keep them refrigerated in a bit of sugar water for up to 2 weeks or dry/store per your grain supplier’s advice.
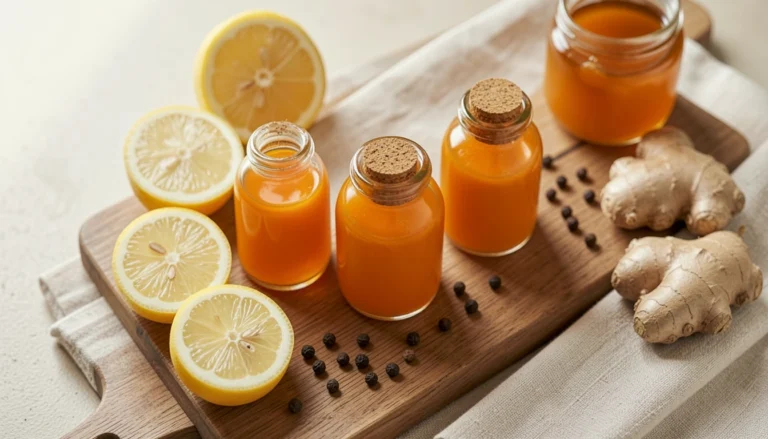
2. Lemon-Ginger Water Kefir
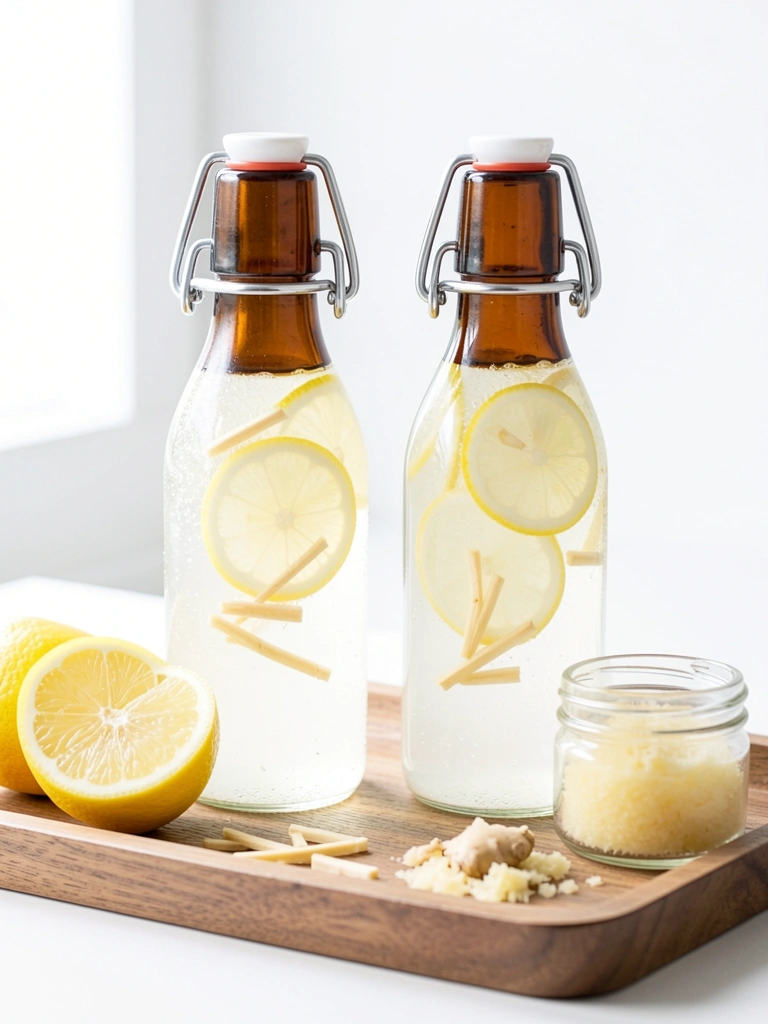
This bright, slightly spicy kefir has a lively fizz and a clean citrus finish. Ginger warms the palate while lemon adds a crisp tang—great chilled on a hot day.
Ingredients
- 1 quart (1 L) plain water kefir (prepared from the classic recipe)
- 1-inch piece fresh ginger, thinly sliced or grated
- Juice of 1 small lemon (or 2–3 lemon slices)
- 1–2 teaspoons cane sugar or 1 tablespoon fruit juice (optional, for added carbonation during second ferment)
- 2 swing-top glass bottles (500 mL each) or one 1 L bottle
Step-by-Step Instructions
1. Prepare flavored bottles
Clean bottles and measure your lemon and ginger. Add ginger slices and lemon juice (or slices) into each bottle. Add 1 teaspoon sugar or a splash of juice per bottle if you want more fizz during the second ferment.
2. Fill with kefir
Pour the strained plain water kefir into the prepared bottles, leaving about 1 inch (2–3 cm) headspace. Leave the grains out—they stay with the next batch.
3. Second ferment for carbonation
Seal the bottles tightly and leave them at room temperature (68–75°F / 20–24°C) for 24–48 hours. Check pressure once a day and “burp” briefly to release excess gas and prevent over-pressurization.
4. Chill and serve
After 24–48 hours, chill bottles in the refrigerator to slow fermentation and settle flavors. Open carefully over the sink. Serve cold, strained if you prefer no ginger bits.
5. Troubleshooting fizz
If you get little carbonation, leave bottles at a slightly warmer room temperature for the first 12–24 hours or add a touch more sugar/juice next time. If bottles gurgle too much, shorten room-time or vent more often.
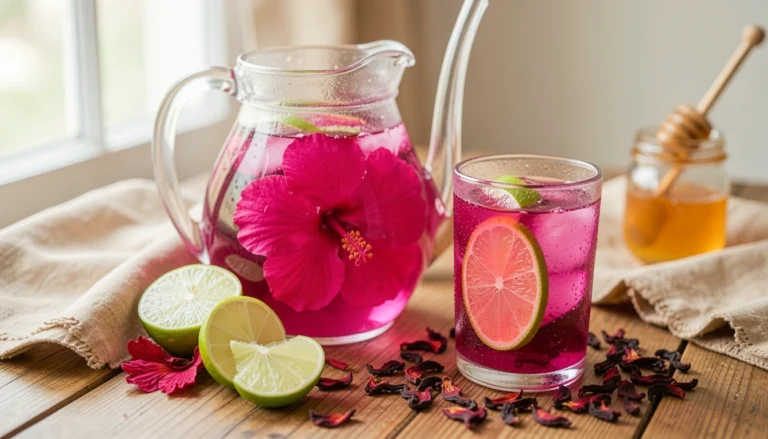
3. Hibiscus Berry Water Kefir
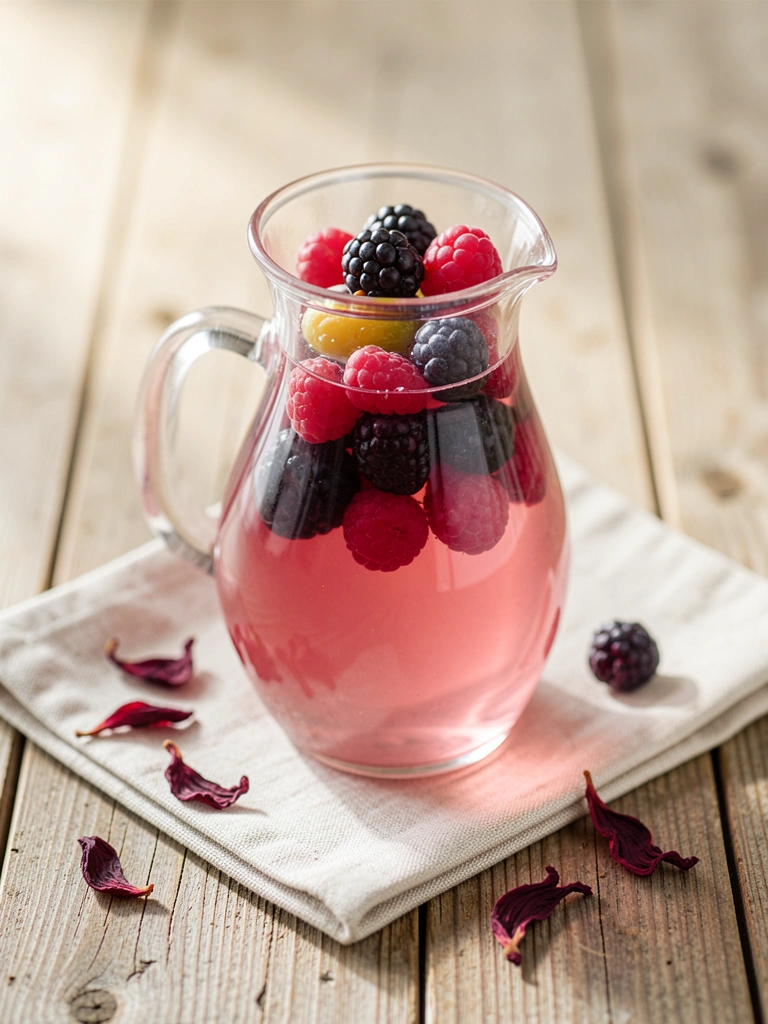
This floral, fruity kefir is pink, slightly tart, and fragrant. Hibiscus adds a cranberry-like note while berries add sweetness and body—delicious and pretty in a glass.
Ingredients
- 1 quart (1 L) plain water kefir (from the classic recipe)
- 1 tablespoon dried hibiscus petals (edible)
- 1/2 cup fresh or frozen mixed berries (strawberries, raspberries, blueberries)
- 1–2 teaspoons cane sugar (optional, for extra carbonation)
- 1–2 airtight bottles for second ferment
Step-by-Step Instructions
1. Prep hibiscus and berries
Split the dried hibiscus evenly between bottles and add mixed berries. If using frozen berries, thaw slightly to release juices. Add 1 teaspoon sugar per bottle if you want stronger carbonation.
2. Add kefir to bottles
Pour strained plain kefir into the bottles, leaving 1 inch (2–3 cm) headspace. Close bottles tightly. The hibiscus will begin to color the kefir quickly.
3. Second ferment
Leave bottles at room temperature (68–75°F / 20–24°C) for 24–48 hours to develop flavor and bubbles. Open carefully to check pressure once a day.
4. Strain and chill
After 24–48 hours, strain out hibiscus and berry solids if you prefer a clear drink, or leave them in for a rustic look. Refrigerate to cool and slow fermentation.
5. Serve and enjoy
Serve chilled. If the flavor is too tart, add a splash of fresh juice or a teaspoon of simple syrup per bottle next time.
FINAL THOUGHTS
You can make consistently good water kefir with one basic method and small flavor experiments. Start with the classic, then try lemon-ginger and hibiscus berry to find your favorites.
Use a clean glass jar, a plastic or nylon strainer, and swing-top bottles for reliable results. Be patient with fermentation times and adjust for temperature. Have fun tasting and tweaking—your grains will reward you.