Taro Milk Tea Recipe From Scratch
If you love creamy bubble tea, this homemade taro milk tea is for you. You’ll cook taro, turn it into a silky paste, brew strong tea, and bring it all together.
I made this recipe to be simple and realistic. You can make it iced or warm, with store-bought or homemade tapioca pearls.
Taro Milk Tea Recipe From Scratch
Follow the steps below for a smooth, nutty taro base and a balanced milk tea. Optional boba instructions are included if you want chewy pearls.
1. Classic Taro Milk Tea (From Scratch)
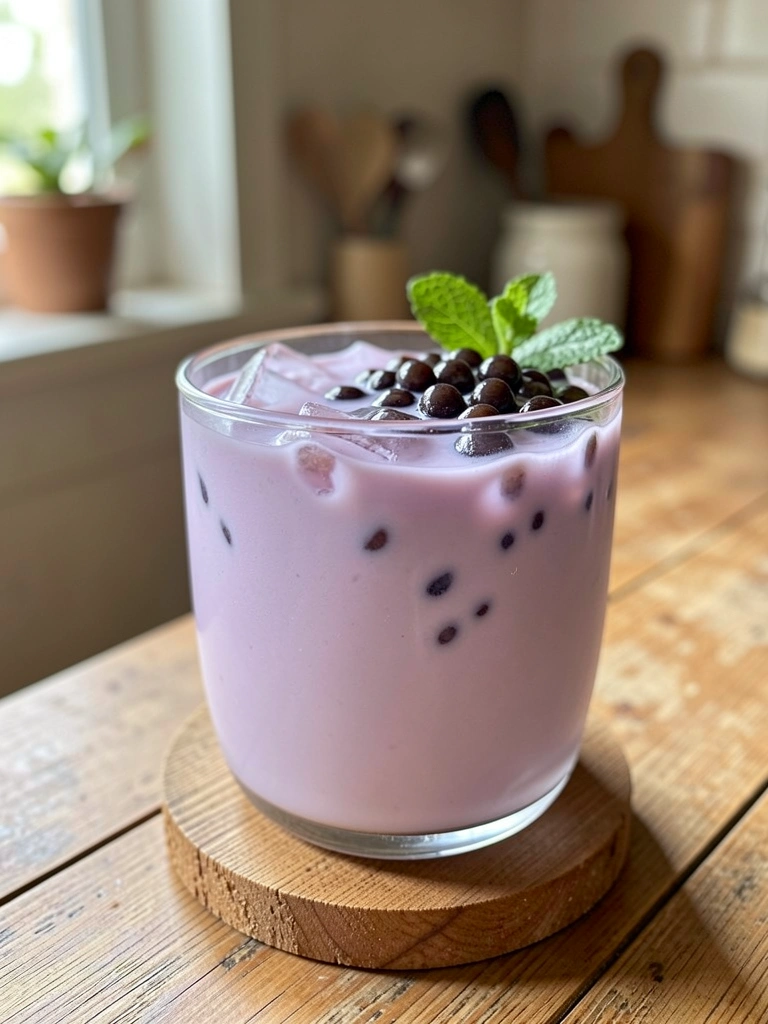
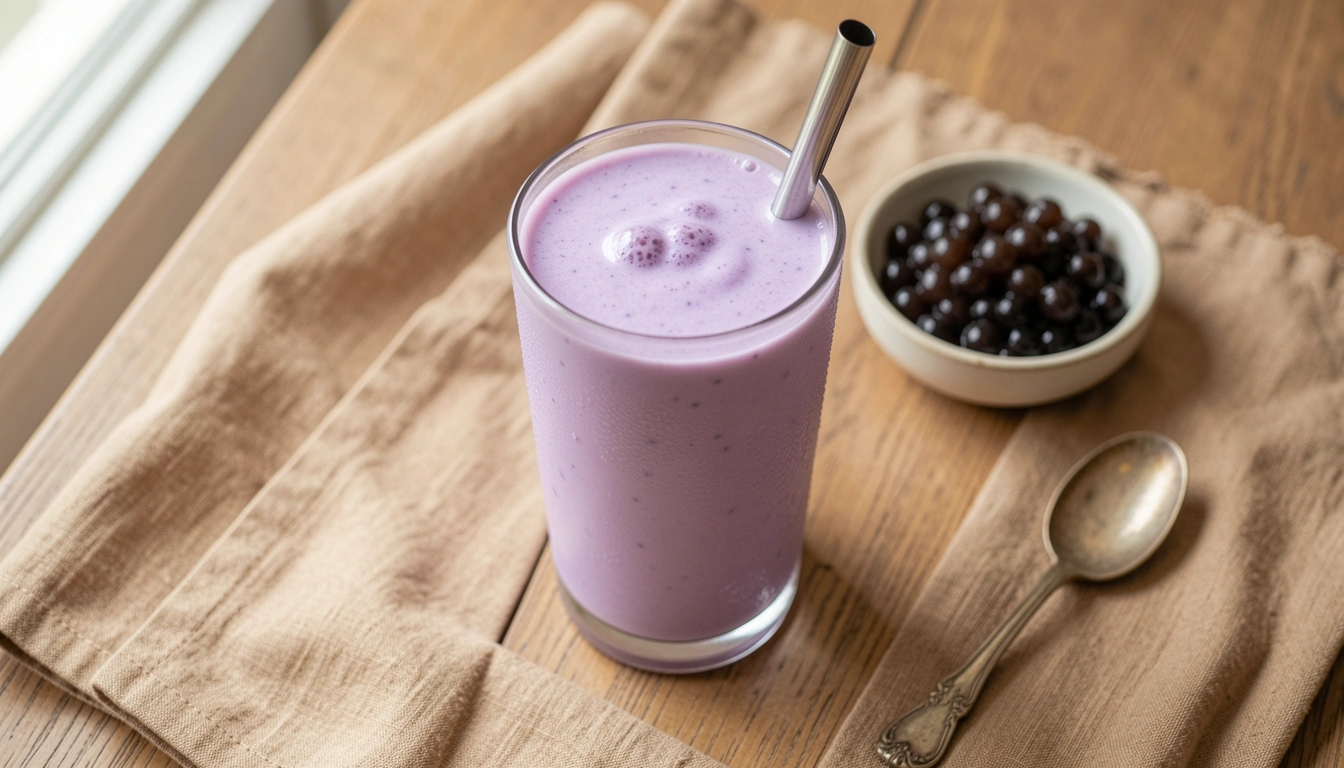
A creamy, slightly sweet drink with a nutty taro flavor and smooth texture. The pastel purple hue is inviting, and you can add chewy pearls for a classic bubble tea finish.
Ingredients
- 12 oz (340 g) fresh taro root, peeled and cut into 1-inch cubes (frozen taro works too)
- 3/4 cup (150 g) granulated sugar, divided (adjust to taste)
- 1/2 tsp fine sea salt
- 1 cup (240 ml) whole milk or oat milk (use dairy-free for vegan)
- 1/2 cup (120 ml) hot water (for blending taro)
- 1 cup (240 ml) strong brewed black tea (Assam or English Breakfast) or oolong
- 1/2 tsp vanilla extract (optional)
- 1 cup ice (for iced version)
- Optional chewy tapioca pearls:
- 1/2 cup store-bought boba (prepared per package) OR
- Homemade pearls: 100 g tapioca starch + 60–70 ml boiling water + 2 tbsp brown sugar
- Tools (optional recommendations): high-speed blender (I use a Vitamix or NutriBullet), fine-mesh sieve, medium saucepan, wooden spoon, measuring scale
Step-by-Step Instructions
1. Cook the taro until very soft
Place cubed taro in a medium saucepan and cover with cold water by 1 inch. Bring to a boil over medium-high heat, then reduce to a simmer. Cook 12–18 minutes until pieces are fork-tender and the center is soft. Drain and let taro steam-dry for a minute. (If steaming, steam 15–20 minutes until soft.)
2. Make a silky taro paste
While taro is warm, transfer to a blender with 1/2 cup hot water and 1/4 cup sugar. Blend on high until completely smooth and lump-free—about 30–60 seconds. If texture is grainy, push the puree through a fine-mesh sieve into a bowl using a spatula for the smoothest result.
3. Sweeten and adjust the taro base
Taste the taro paste and add up to 1/2 cup more sugar (total used about 3/4 cup) and 1/2 tsp salt as needed. Stir in 1/2 cup milk and 1/2 tsp vanilla extract, mixing until silky. The paste should be pourable but thick. Chill briefly if making iced drinks.
4. Brew a strong tea
Boil fresh water and pour 1 cup over 1–2 black tea bags or 2 tsp loose leaf in a teapot. Steep 3–4 minutes for a strong brew. Remove tea and let cool slightly. For iced drinks, cool completely or use concentrated tea and ice to avoid dilution.
5. (Optional) Prepare tapioca pearls — store-bought or homemade
For convenience, cook store-bought pearls per package and soak in brown sugar syrup. To make pearls from scratch: bring 120 ml water to a rolling boil, slowly stir into 100 g tapioca starch to form a dough, knead until smooth, roll into small balls, and boil for 10–12 minutes until bouncy. Drain and soak in 2 tbsp brown sugar syrup for at least 5 minutes.
6. Assemble your taro milk tea
In a tall glass, add 2–3 tbsp taro paste (adjust to color/flavor preference). Add 1/4 cup cooked tapioca pearls if using. Fill glass with ice (for cold) or leave out for warm. Pour in 1/2 cup brewed tea and top with 1/2 cup milk. Stir to combine. Taste and add sugar or condensed milk for extra sweetness.
7. Serve and store
Serve immediately with a wide straw for pearls. Leftover taro paste keeps in an airtight container in the fridge for 3–4 days—stir before using. Reheat gently on low or dilute with a splash of hot water or milk to loosen.
FINAL THOUGHTS
You can customize sweetness, milk type, and tea strength to your taste. Try oat milk for a dairy-free creaminess or jasmine tea for a floral twist.
I love making the taro paste ahead for quick weeknight treats. Have fun experimenting—this recipe scales well if you want to make a pitcher for friends.