How to Make Protein Shake Without a Shaker
You need a quick, smooth protein shake but no shaker. This guide shows simple, reliable ways to mix one using items you already own.
Shortcuts, timing, and the right order of steps matter. You’ll get a creamy, clump-free shake in minutes.
Practical tips keep it portable and spill-safe so you can leave the house confident.
How to Make Protein Shake Without a Shaker
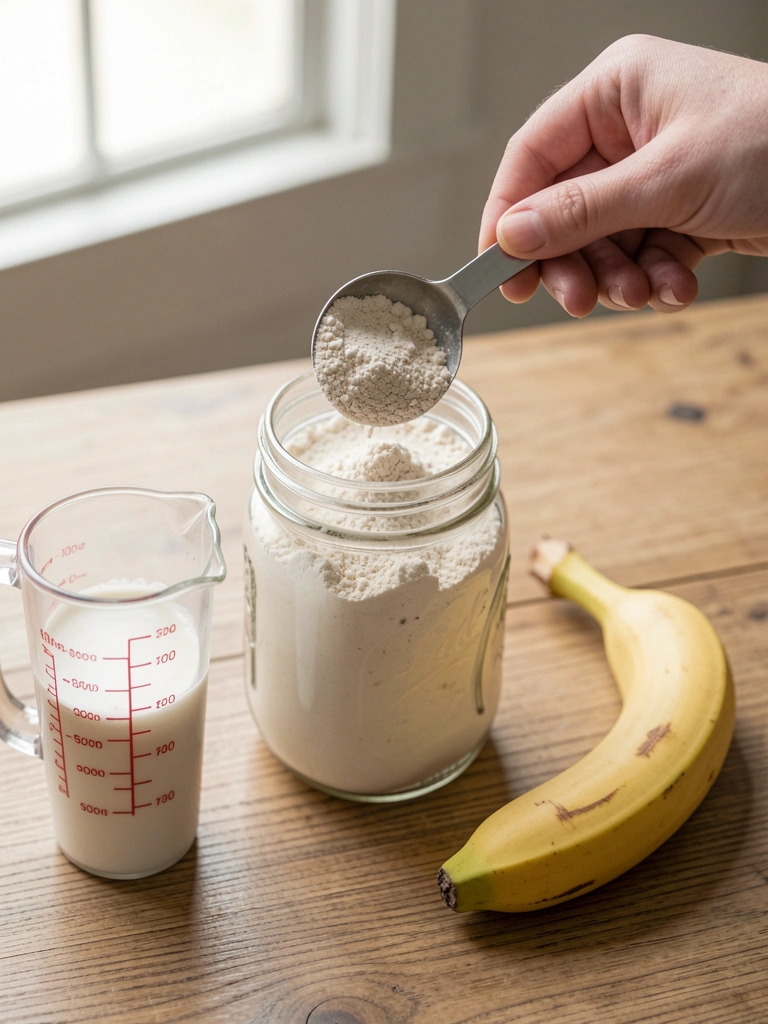
You’re making a single-serve protein shake: smooth, slightly thick, and drinkable through a straw or sipped from a jar. Expect a creamy texture with mild sweetness when using milk or yogurt.
Ingredients
- 1 scoop (about 30 g) protein powder — whey or plant-based, leveled
- 8–12 fl oz (240–360 ml) liquid — water, milk, or plant milk; more liquid = thinner shake
- 1/2 cup plain yogurt or 1 small ripe banana (optional) — for creaminess
- 1 tbsp nut butter or 1 tsp instant coffee (optional flavor boost)
- Ice cubes (2–4) — for chill and texture
- Pinch of salt (optional) — enhances flavor
Step-By-Step Instructions
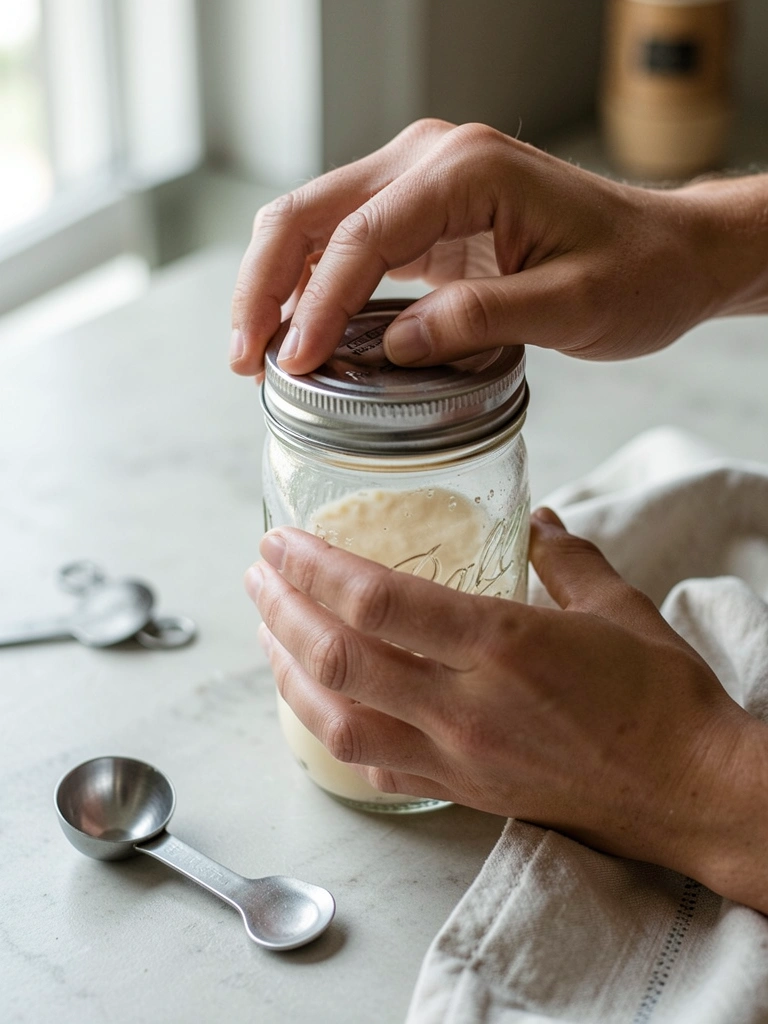
Step 1: Pick the right container.
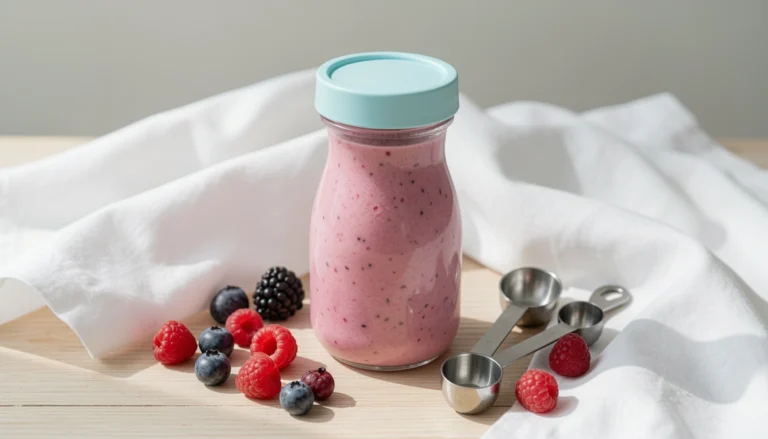
Use a wide-mouth mason jar or any jar/bottle with a tight-sealing lid. Aim for at least 16 oz capacity so there’s room to mix. A lid prevents spills and lets you shake vigorously without a shaker.
A clear jar helps you spot clumps. A bowl or tall cup works if you plan to whisk instead of shake.
Step 2: Add liquid first.
Pour cold or room-temperature liquid into the jar first (8–12 oz). Cold liquids reduce foam and keep the shake refreshing. Leaving a little headspace (about 2 inches) gives room for mixing.
Adding liquid first prevents dry powder from sticking to the bottom and makes the powder dissolve faster.
Step 3: Add powder and extras.
Spoon a level scoop of protein into the liquid. Add soft mix-ins like yogurt, mashed banana, or nut butter now. Drop in ice if using.
If you add heavy items later, they can clump. Distribute powder over the liquid surface for faster wetting.
Step 4: Choose a mixing method and mix.
If shaking: seal the jar tightly and shake hard for 30–45 seconds using short, aggressive strokes. Tilt slightly and give 5–10 extra seconds if clumps appear.
If whisking: pour into a bowl and whisk briskly for 20–30 seconds with a fork or handheld whisk until smooth. For a handheld frother or immersion blender: blend 10–20 seconds for a silky finish.
The goal is full dispersion of powder; different tools take different times but all work.
Step 5: Check texture and adjust.
Open and inspect for clumps. If too thick, add 1–2 oz liquid and stir or shake 10–15 seconds. If too thin, add a small extra scoop or banana and remix.
Pour into your cup or leave in the jar for travel. Seal well before carrying.
Best No-Shaker Containers and Tools
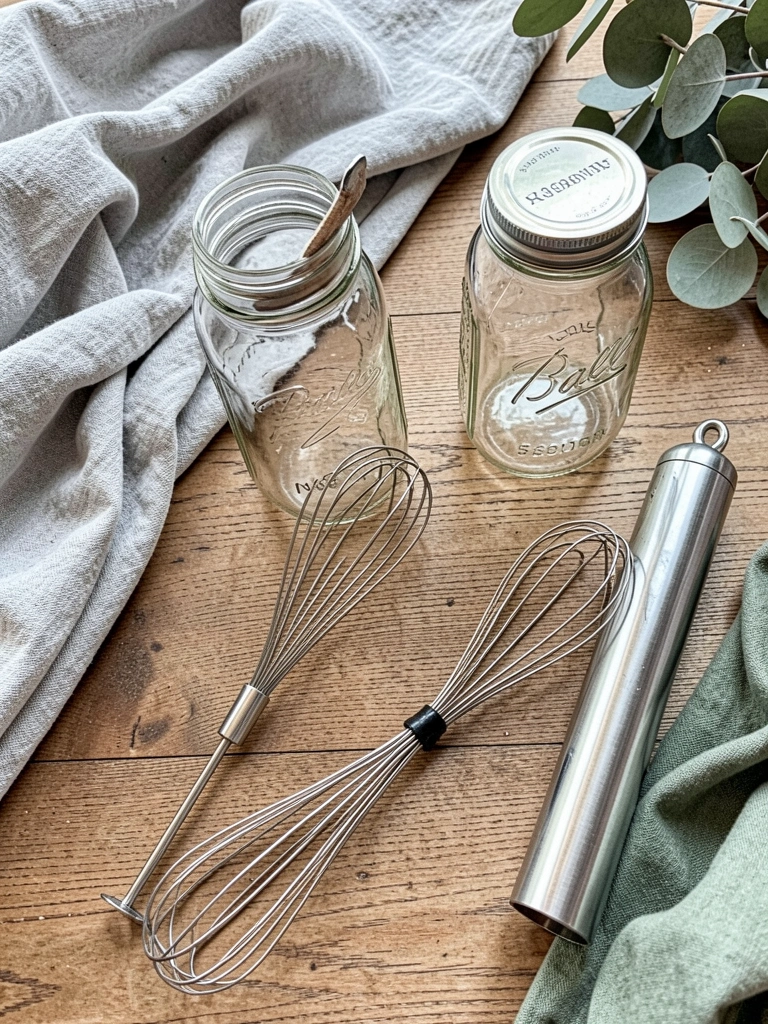
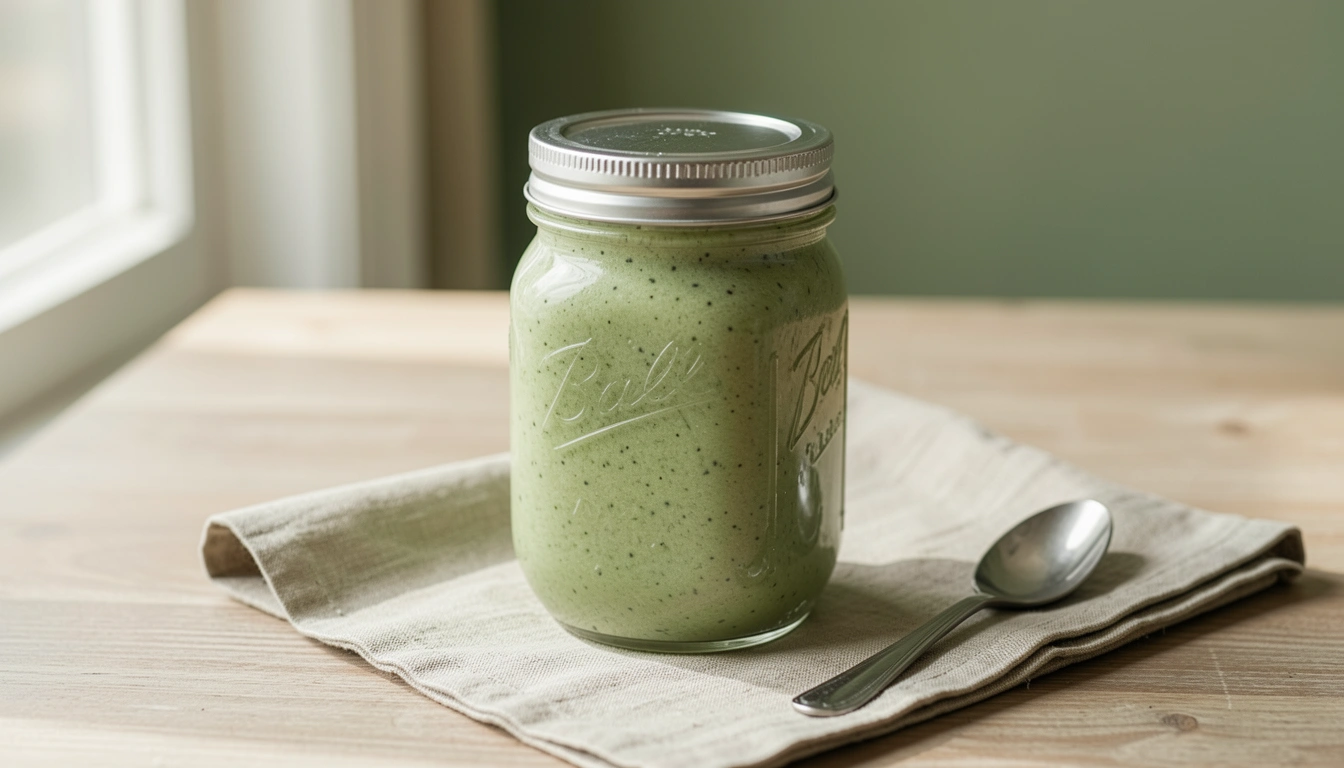
Choose a container with a tight lid and at least 16 oz capacity. Mason jars are ideal because they’re common, leak-resistant, and clear so you can check texture. Reused glass bottles with screw tops also work.
For tools, a small whisk or fork handles manual mixing. A handheld milk frother or immersion blender is fastest and gives the smoothest texture. Use whichever fits your kitchen.
Keep a cloth or silicone sleeve if you’ll shake vigorously — it improves grip and reduces noise.
Quick Mixing Techniques (No Shaker)
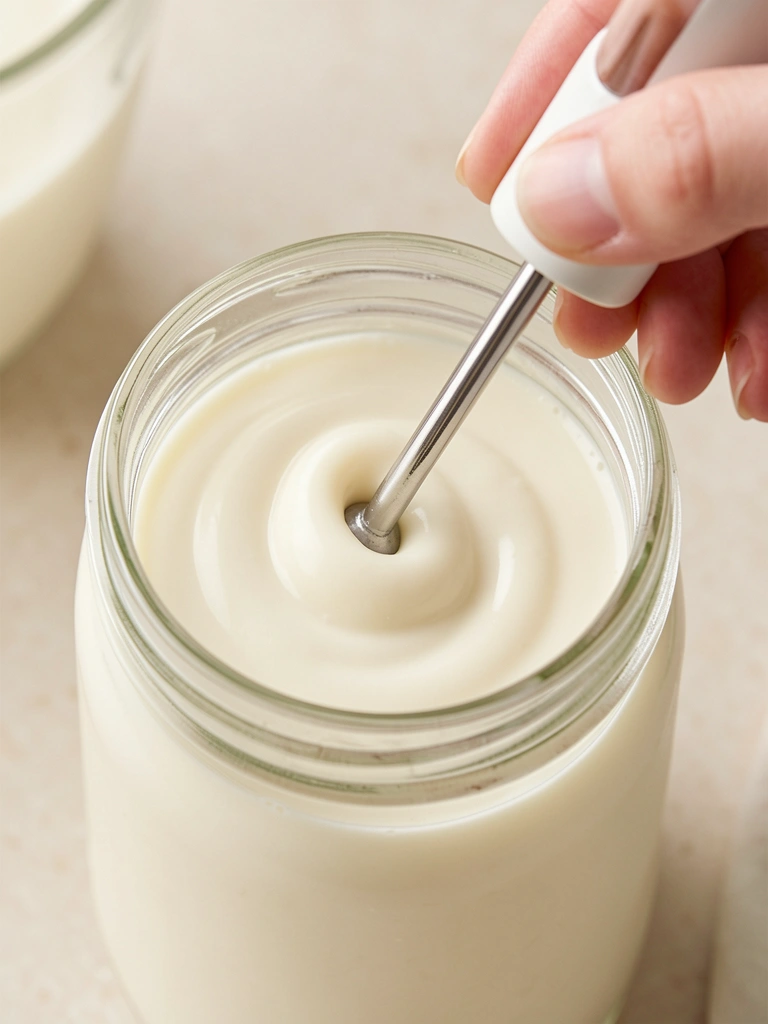
Shaking in a sealed jar creates aeration and works fast. Short, forceful shakes are better than long, gentle ones. Limit shaking time to 45 seconds to avoid excessive foam.
Whisking in a bowl lets you break up clumps manually; use a fork for travel-friendly gear. Electric frothers and immersion blenders are the quickest, especially with thicker add-ins like yogurt.
Select a method based on speed, texture preference, and the tools you have.
How to Prevent Clumps and Fix Texture
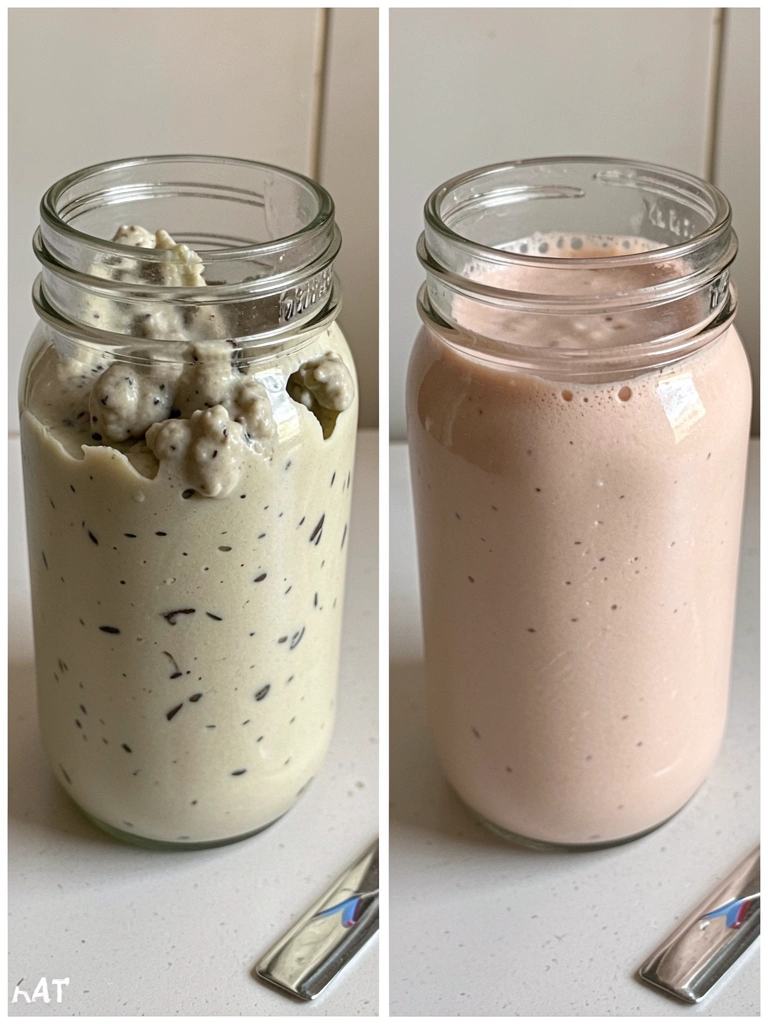
Add liquid first and distribute powder across the surface to wet it evenly. Use room-temp liquid if your powder tends to gel or clump in very cold liquid. Tiny bits of powder that sit dry cause lumps.
If clumps form, break them with a spoon, re-shake, or use a frother for 10–15 seconds. Strain through a fine mesh if you need a perfectly smooth texture for sipping.
How to Transport a Shake Without a Shaker
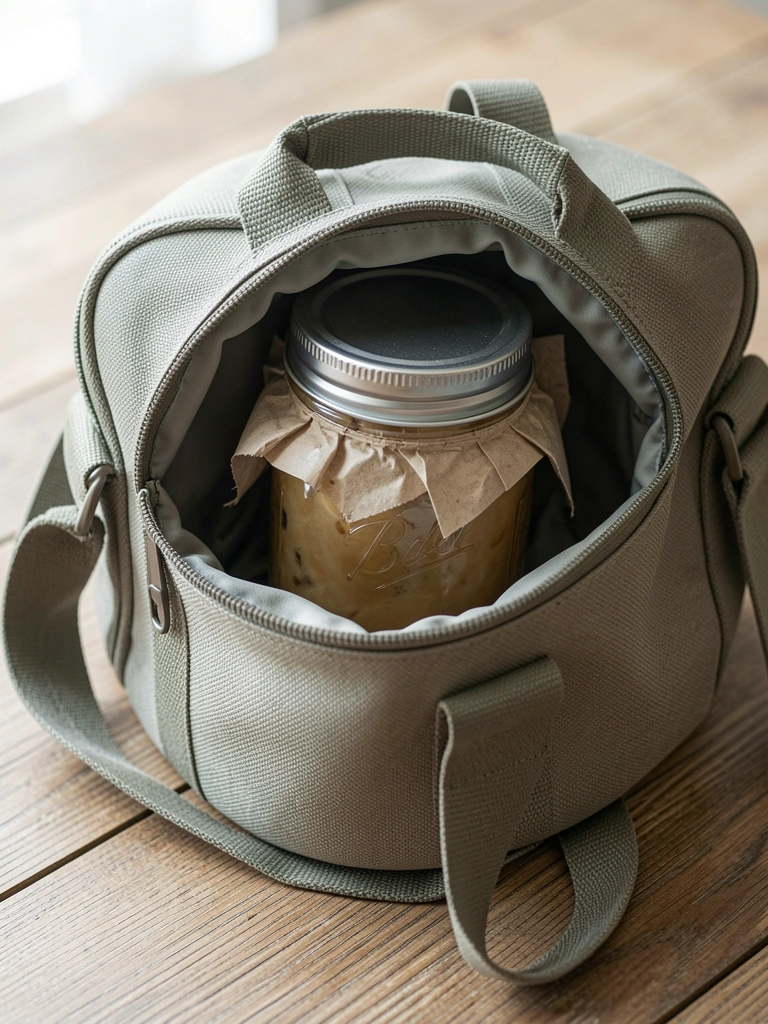
Seal the jar tightly and place it upright in a stable bag compartment. Use a leak-proof screw-top bottle if you’ll toss it into a gym bag. Keep chilled in an insulated sleeve or cooler pack if you need to maintain freshness.
If separation occurs, just re-seal and shake briefly before drinking. For long commutes, add a little extra liquid to account for thickening.
Final Thoughts
You don’t need a shaker to make a reliable protein shake. Pick the right jar, add liquid first, and use shaking, whisking, or a small electric tool to finish.
With these steps you’ll get smooth texture, predictable flavor, and safe transport—ready in minutes without special equipment.