
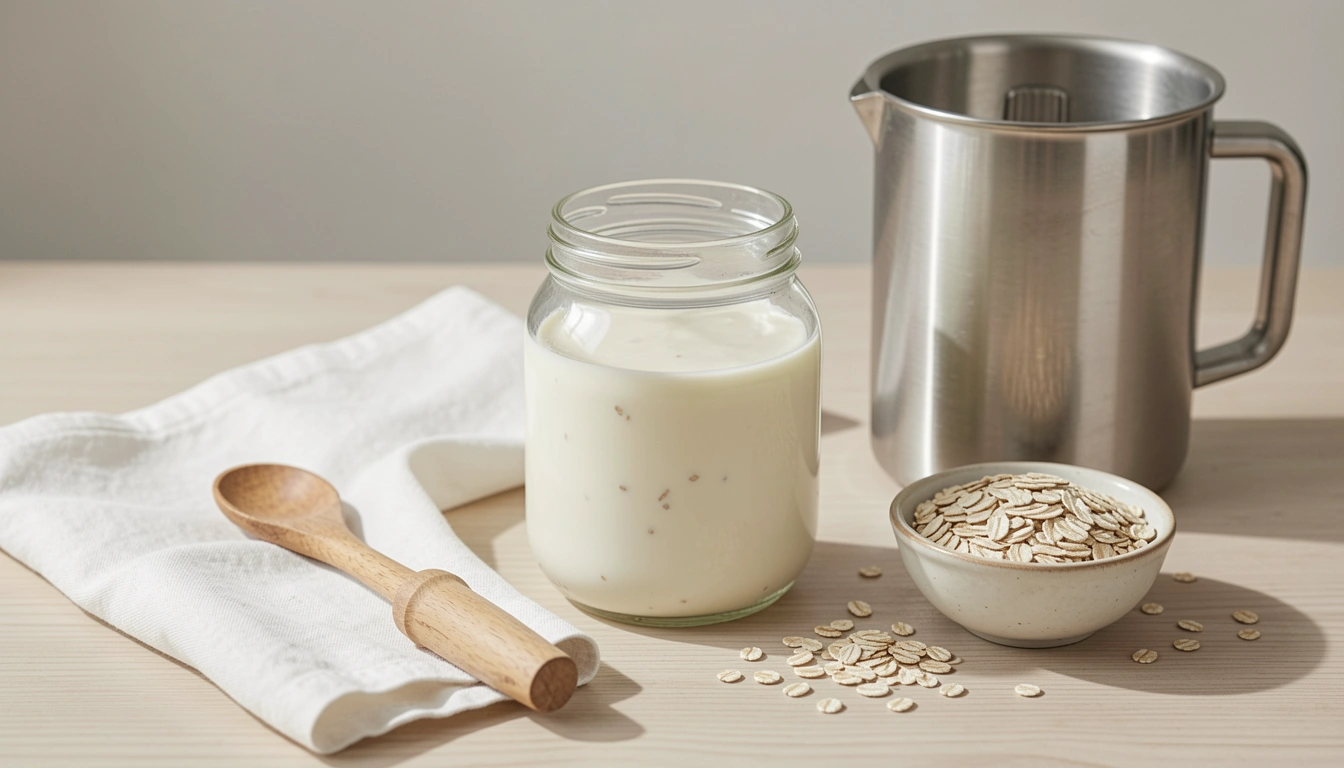
How To Make Oat Milk At Home
You want simple, creamy oat milk without additives or mystery. This guide shows you exactly how to make oat milk at home with reliable ratios, timing, and tools.
No fuss. No thickening agents. Just oats, water, a blender and easy finishing steps so your oat milk turns out smooth and predictable every time.
How To Make Oat Milk At Home
You’ll make a smooth, slightly sweet, lightly creamy plant milk. Expect a pourable texture that separates naturally — you’ll shake before using.
The flavor is mild and naturally oat-forward, ideal plain or lightly sweetened.
Ingredients
- 1 cup rolled oats — old-fashioned work best for creaminess.
- 3–4 cups cold filtered water — 1:3 gives creamier milk; 1:4 yields thinner milk for drinking.
- Pinch fine sea salt — brightens flavor.
- 1–2 medjool dates or 1 tsp maple syrup (optional) — for gentle sweetness.
- 1/2 tsp vanilla extract (optional) — adds warmth without overpowering.
Tools you’ll use are listed in steps below.
Step-By-Step Instructions
Rinse and measure the oats
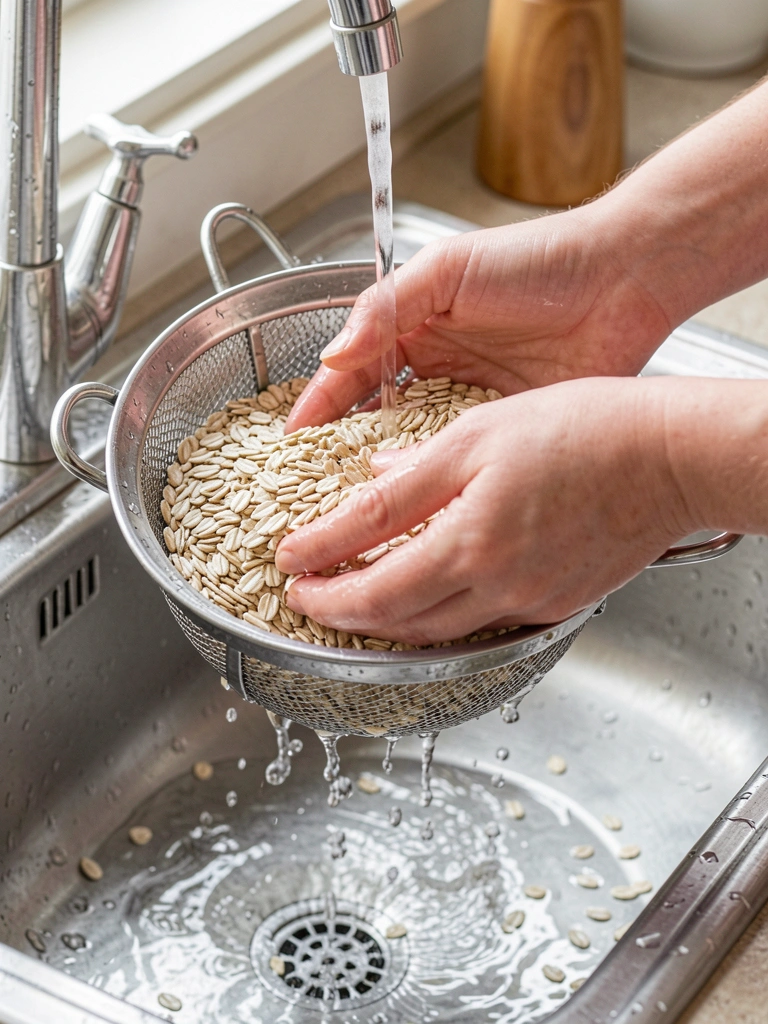
Place oats in a fine sieve and rinse under cool running water for 10–15 seconds. This removes loose starch that can cause sliminess. Use a gentle swirl and drain thoroughly before measuring.
Rinsing helps control texture. It’s quick and makes a noticeable difference in the final mouthfeel.
Combine oats and cold water
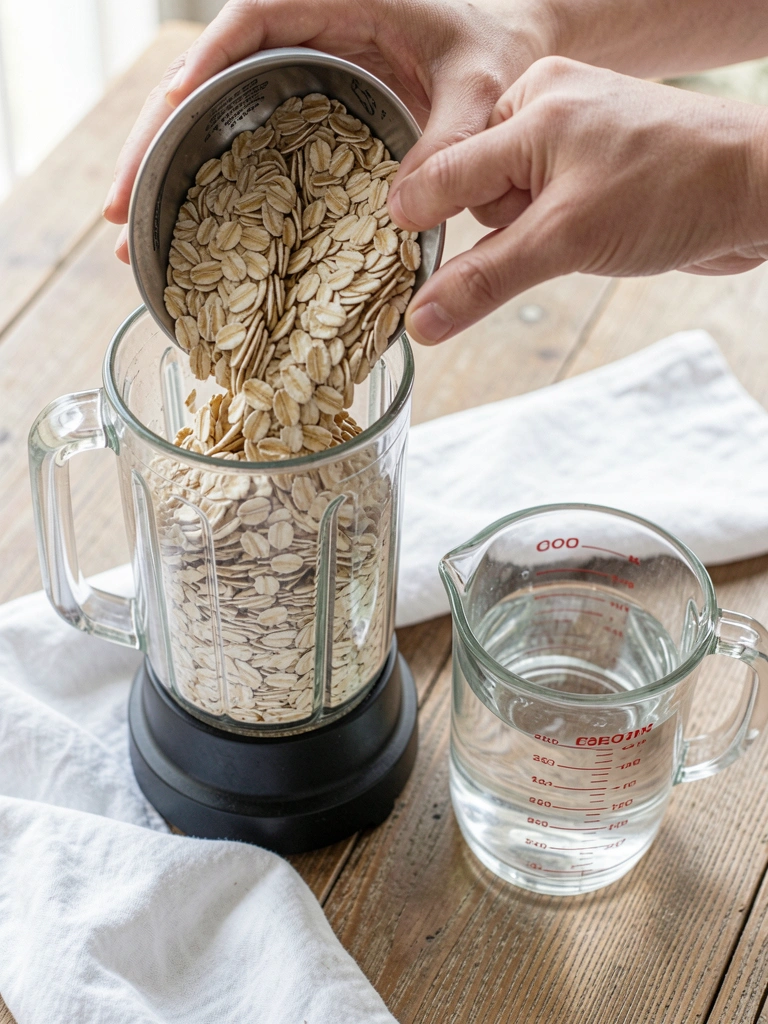
Add rinsed oats and 3 cups cold filtered water to your blender. For creamier milk, use 3 cups; for lighter, use 4 cups. Add a pinch of salt and any optional sweetener.
Cold water prevents excess starch release. Measure water precisely for consistent results.
Blend briefly and watch the time
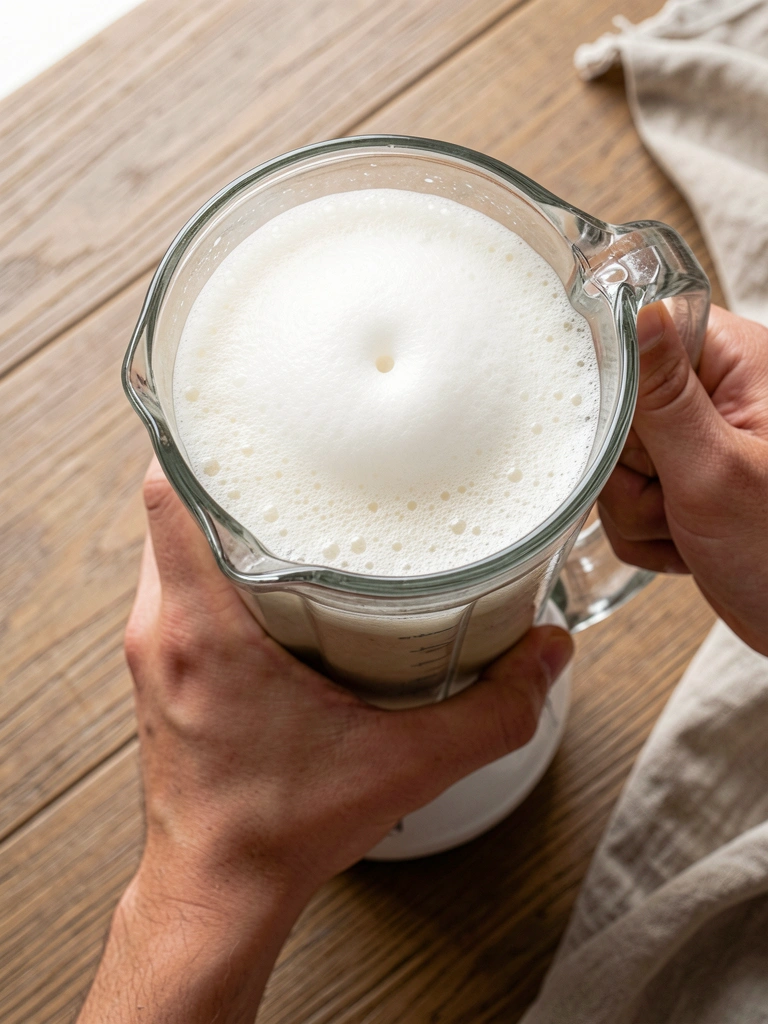
Blend on high for 25–35 seconds. Stop when the mixture looks uniformly pale and slightly frothy. Avoid over-blending; long blends extract more starch and create a slimy texture.
Use a high-speed blender but pulse if needed. Visual cue: no visible oat fragments, but not overly frothy.
Strain for smoothness
Pour the blend through a nut milk bag or fine-mesh sieve lined with a single layer of cheesecloth over a bowl. Let it drain naturally, gently squeeze the bag for an extra pour. Do not force through a paper filter unless you want slow filtration.
Straining separates pulp and a silky liquid. The leftover pulp is normal — discard or save separately.
Taste, adjust, and store
Stir in vanilla or sweetener to taste, then transfer the milk to a clean glass bottle. Refrigerate immediately. Store between 34–40°F (1–4°C); shake well before each use.
Milk will thicken slightly when chilled. Use within 4–5 days and smell-check before using.
Straining Methods and Visual Tips
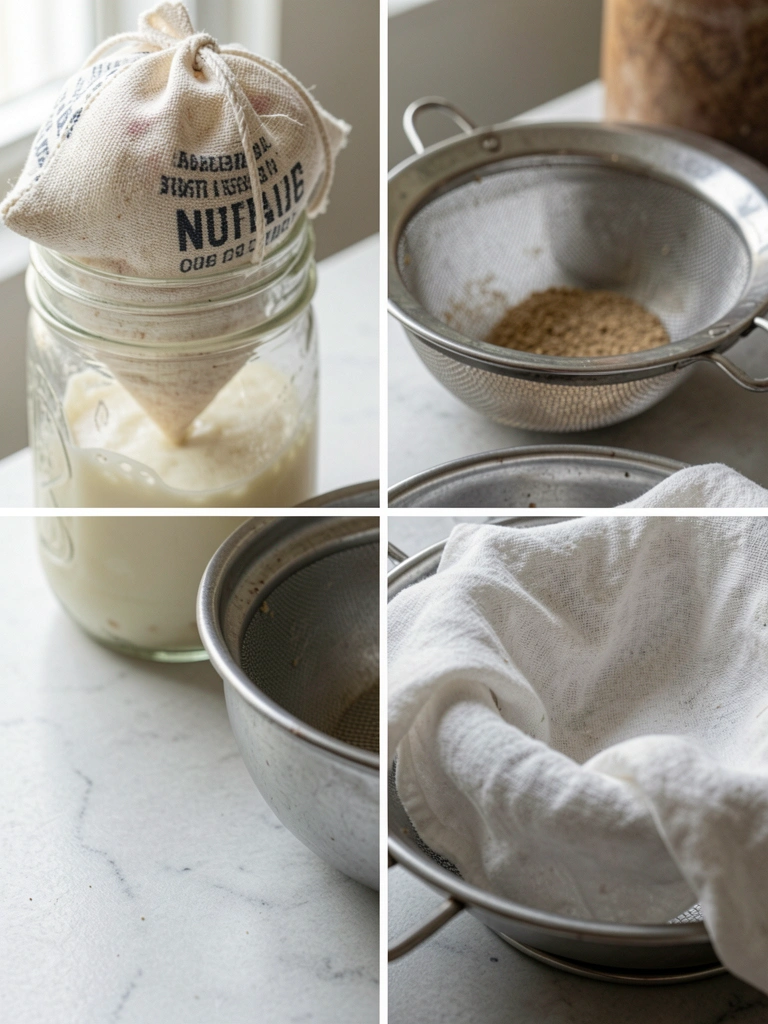
Nut milk bag: fastest and produces very smooth milk when you gently squeeze. Good for minimal pulp.
Fine-mesh sieve + cheesecloth: reliable and common in home kitchens. Faster than paper filters and still smooth.
Paper coffee filters: extra-slow but catch finer particles — expect longer wait time and lower yield. Visual cues: clear pale liquid with minimal cloudiness means effective straining.
Avoiding Slimy Oat Milk
Keep blending time short — 25–35 seconds. Over-blending releases excess soluble starch that makes milk viscous.
Use cold water and rinse oats briefly before blending. Warm water and long soaking can increase sliminess.
Adjust the ratio: if milk feels slimy, dilute with an extra 1/2–1 cup water and blend very briefly, then re-strain.
Flavoring and Texture Adjustments
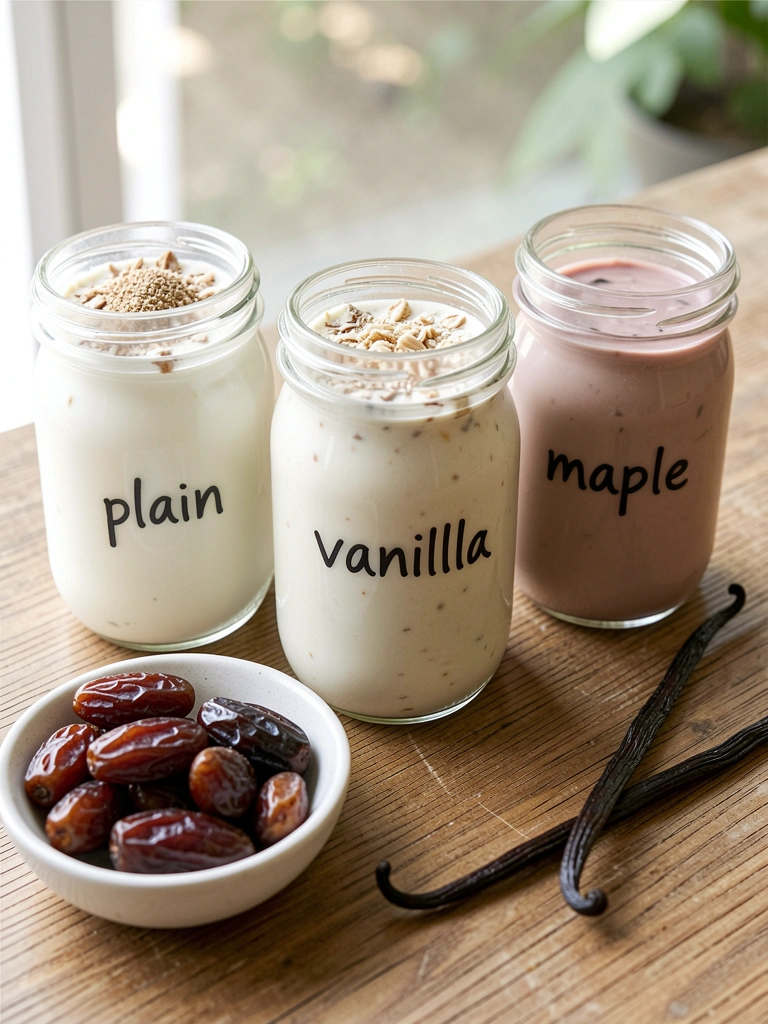
For creamier mouthfeel, use a 1:3 ratio or add 1 teaspoon neutral oil (like sunflower) and blend briefly. Add sweeteners (dates, maple) during blending for even distribution.
A pinch of salt and 1/2 tsp vanilla lift the flavor. Taste cold — chilling mutes sweetness and emphasizes creaminess.
If you need thinner milk for cereal or coffee, increase water to 1:4 or 1:5 and re-strain for clarity.
Storage, Shelf Life, and Signs of Spoilage
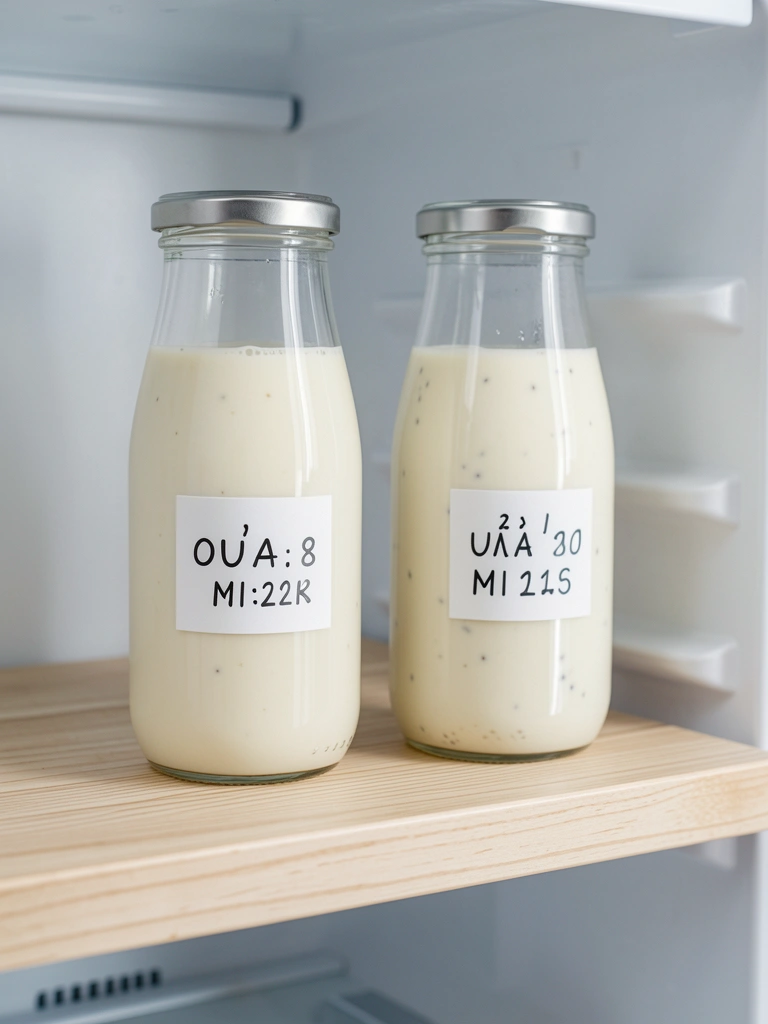
Refrigerate immediately in a sealed glass bottle. Keep at 34–40°F (1–4°C). Properly stored, oat milk stays fresh 4–5 days. Always label with date.
Separation is normal — shake before using. Toss if you detect off smells, visible mold, or a sour taste.
Do not leave at room temperature more than 2 hours. Short refrigeration keeps flavor and texture consistent.
Final Thoughts
You now have a repeatable method for making oat milk that’s smooth, mild, and reliable. Follow the rinse, ratio, short-blend, and proper straining steps to avoid sliminess.
Make small batches until you find your preferred creaminess and sweetness. Enjoy the control and freshness of homemade oat milk.