How to Make Kombucha at Home for Beginners
You want fizzy, homemade kombucha without confusion. You’re curious about steps, timing, and safe handling.
This guide walks you, step-by-step, through a simple first batch. No jargon. Just clear actions and visuals.
How to Make Kombucha at Home for Beginners

You’ll make a lightly tart, fizzy fermented tea with a smooth, slightly vinegary finish. Expect a mild tang, some bubbles, and a cellulose SCOBY forming on top as it ferments.
Ingredients
- 1 cup (200 g) granulated sugar — feeds the SCOBY for fermentation.
- 8 bags (or 8 tsp) black or green tea — provides tannins and nutrients for SCOBY.
- 3.8 L (1 gallon) filtered water — chlorine-free water prevents SCOBY damage.
- 2 cups (480 ml) starter tea from a previous batch or unflavored store-bought kombucha — acidifies the mix to prevent mold.
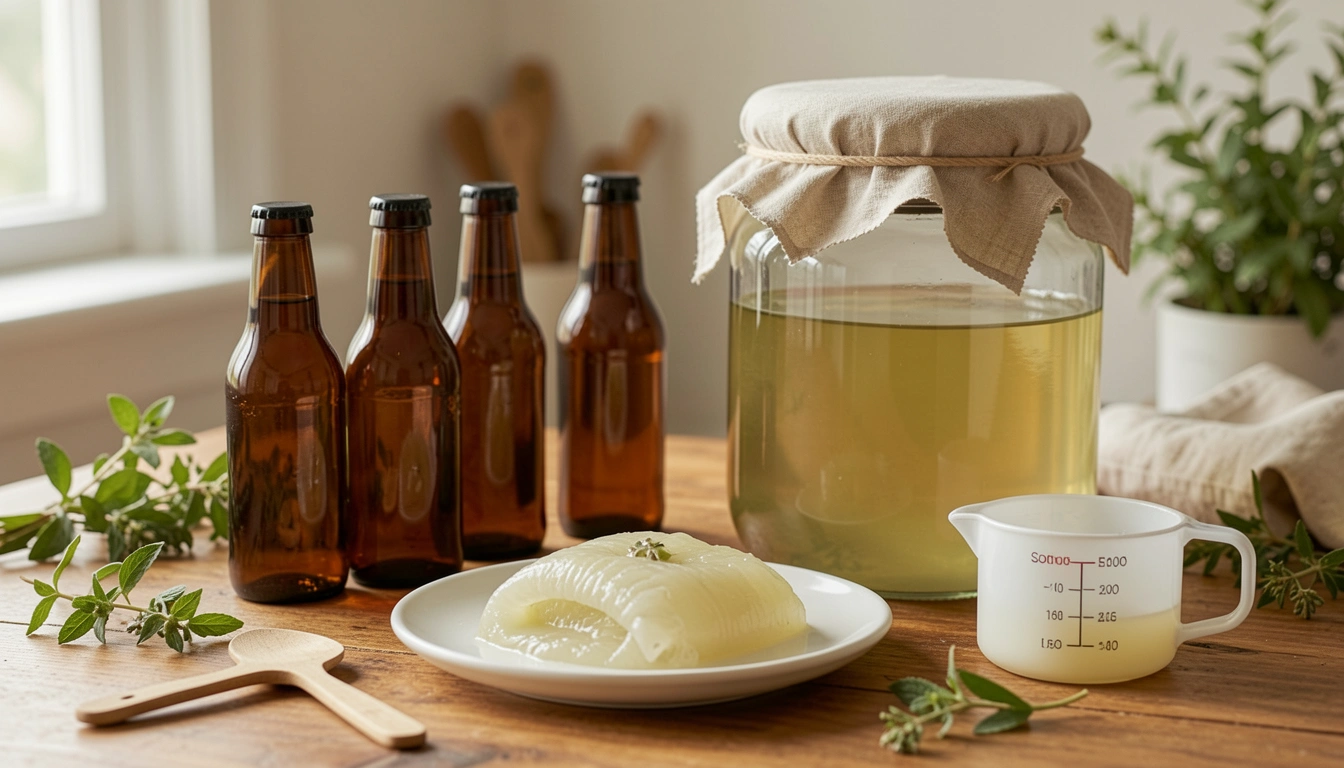
- 1 healthy SCOBY (symbiotic culture of bacteria and yeast) — the living culture that ferments tea.
- Optional: 1–2 cups flavoring (fruit, juice, or herbs) for secondary fermentation.
Step-By-Step Instructions
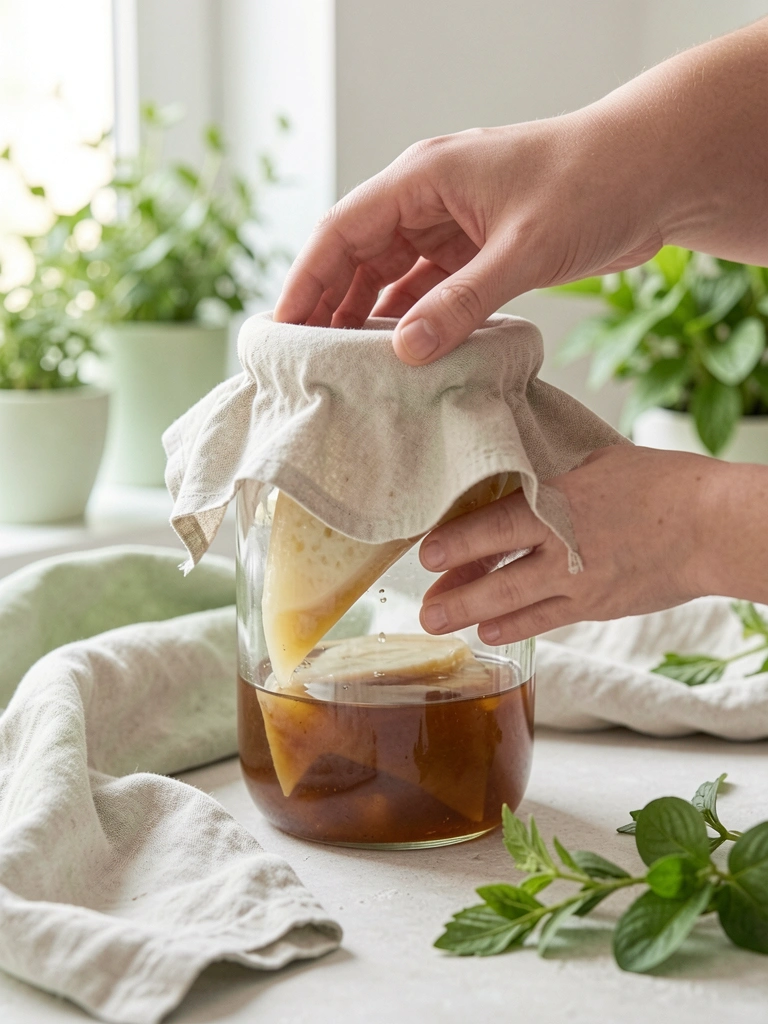
Step 1 — Prepare and sanitize your equipment.
Rinse jars, funnels, and bottles in hot water. You don’t need bleach; hot water and a clean workspace are enough.
Keeping things clean prevents off-flavors and contamination. Use glass or food-grade plastic only.
Step 2 — Make the sweet tea.
Boil 1 gallon of water, remove from heat, steep tea bags for 10–15 minutes. Stir in 1 cup sugar until fully dissolved.
Tea and sugar give the SCOBY what it needs to make kombucha. Strong, fully dissolved sugar is important.
Step 3 — Cool the tea to room temperature.
Let the tea cool to 68–85°F (20–29°C) before adding the SCOBY. Hot tea will kill the culture.
You can set the pot in a sink of cool water to speed this up. Visual cue: no steam and comfortably warm to the touch.
Step 4 — Add starter tea and SCOBY.
Pour cooled tea into your fermentation jar, add 2 cups starter tea, then gently place the SCOBY on top. Cover with breathable cloth and secure.
Starter tea prevents mold by lowering pH. The SCOBY will float or sink — both are normal.
Step 5 — Primary fermentation (7–14 days).
Store the jar at 68–78°F (20–26°C) away from direct sun. Check after day 5, then taste daily until you like the balance of sweet and tart.
Look for a new thin SCOBY forming on the surface and small bubbles rising — signs fermentation is progressing.
Step 6 — Remove SCOBY and reserve starter.
When flavor is right, remove the SCOBY with clean hands or a non-metal utensil. Save 2 cups of kombucha as starter for your next batch.
Keep the SCOBY and starter in a clean jar if you plan another batch soon.
Step 7 — Bottle and secondary ferment (1–7 days).
Pour kombucha into airtight bottles, leaving 1 inch headspace. Add flavorings if desired. Ferment at room temp 1–7 days for carbonation, then refrigerate.
Cold stops fermentation and preserves fizz. Burp bottles carefully to release excess pressure.
How to Tell When Kombucha Is Ready
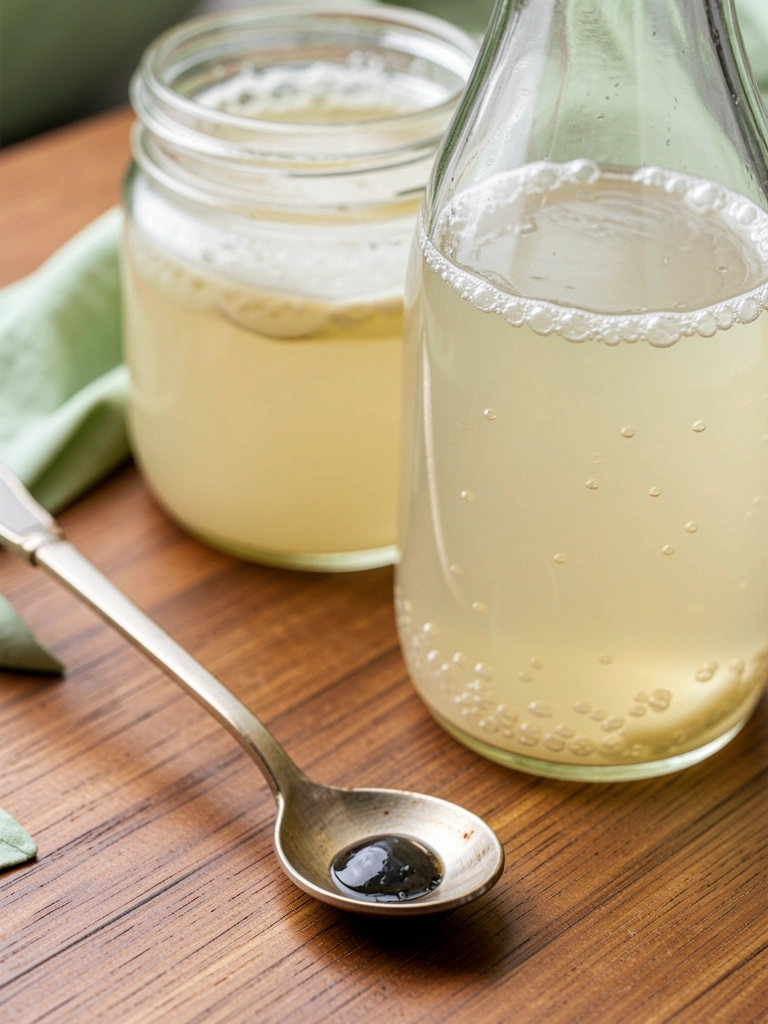
Taste is the best indicator. Start tasting at day 5 by slipping a straw beneath the SCOBY to sample. You want a balance between sweetness and tang.
If it’s too sweet, give it more time. If too vinegary, shorten future fermentation. Visual cues: a new pale layer on top and gentle rising bubbles mean progress.
Common Beginner Mistakes and How to Avoid Them
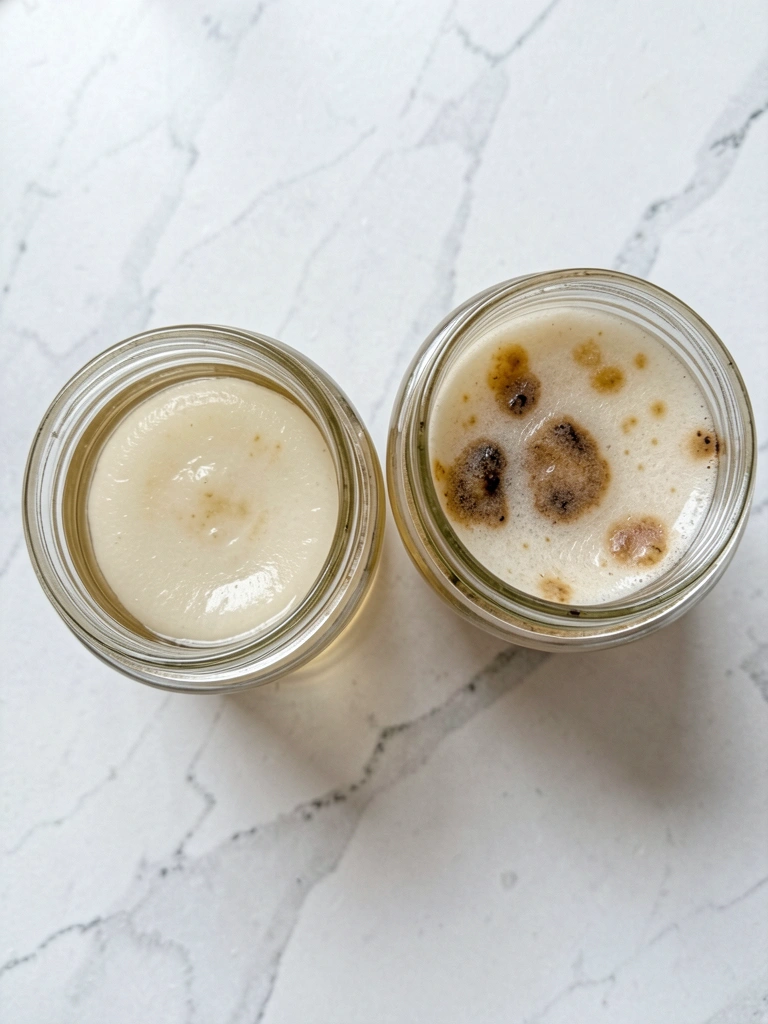
- Skipping starter tea: Without reserved starter, pH stays high and mold risk rises. Always use acidic starter.
- Adding SCOBY to hot tea: Heat kills the culture. Always cool to room temp.
- Using metal utensils: Metal can react with the SCOBY. Use glass, wood, or plastic tools.
If you see fuzzy, green, or black mold, discard the batch and SCOBY. Brown stringy yeast is normal. Cleanliness, temperature control, and starter tea prevent most issues.
Equipment and Safety Tips
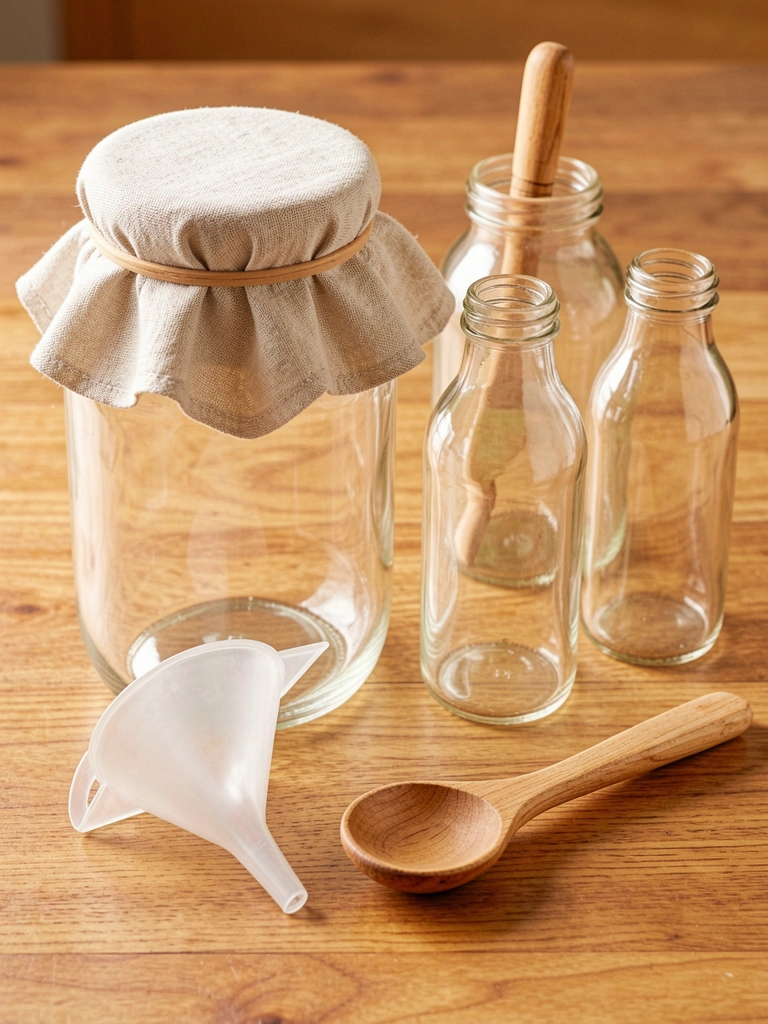
Use food-safe glass jars and bottles. Avoid narrow-necked containers for primary fermentation — you must see the SCOBY. Cloth covers keep out dust while allowing airflow.
Maintain a stable room temperature (68–78°F). Extreme heat speeds vinegar production; cold slows fermentation. Store away from direct sunlight and strong odors.
Final Thoughts
You can make reliable, tasty kombucha at home with simple tools and patience. Follow the steps, taste as you go, and adjust timing to your preference.
Start small, keep things clean, and you’ll build confidence with each batch. Enjoy your first fizzy jar.