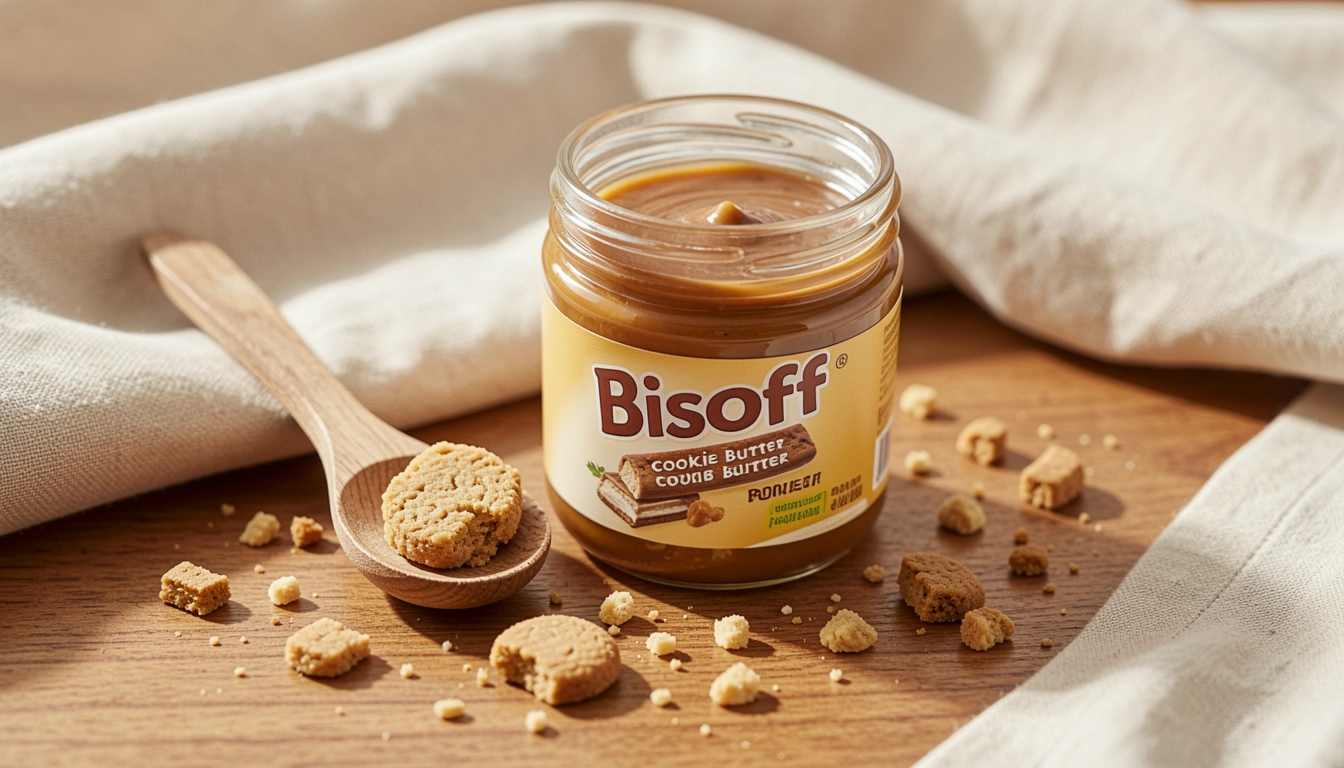
How To Make Biscoff Cookie Butter Syrup
You want that rich, caramelized cookie-butter flavor in a pourable syrup you can drizzle on coffee, pancakes, or ice cream.
This guide shows exactly how to make a smooth, glossy Biscoff cookie butter syrup at home—no weird ingredients, just clear steps and real timing.
You’ll learn the simple heat, blend, and reduce method so your syrup is perfectly pourable and shelf-stable.
How To Make Biscoff Cookie Butter Syrup
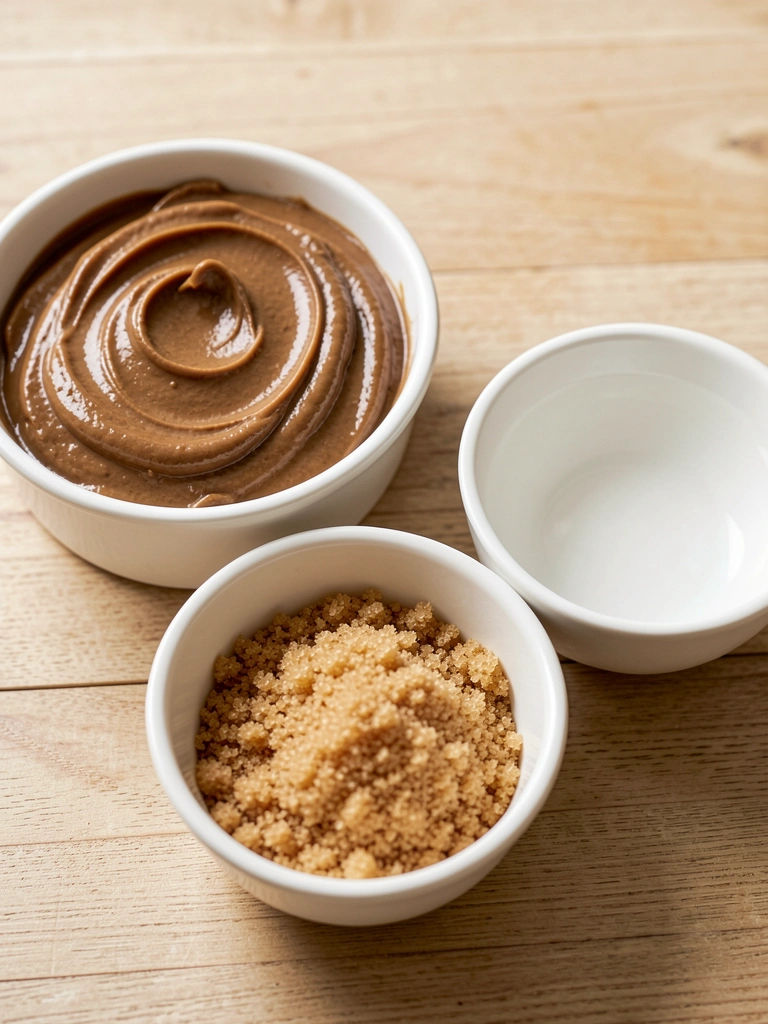
You’re making a glossy, pourable syrup that tastes like cookie butter—sweet, warmly spiced, and thick enough to coat a spoon. The final texture should be smooth and pourable at room temperature, slightly thickened after cooling.
Ingredients
- 1 cup Biscoff cookie butter (smooth) — provides base flavor and texture.
- 1/2 cup light brown sugar, packed — adds caramel depth and sweetness.
- 3/4 cup water — adjusts consistency; warm for faster dissolving.
- 1/2 tsp fine sea salt — balances sweetness and enhances flavor.
- 1 tsp vanilla extract — brightens the spice notes.
- 1 tbsp neutral oil (optional) — for extra gloss and pourability.
- Optional: 1/4 tsp ground cinnamon (if you like stronger spice).
Step-By-Step Instructions
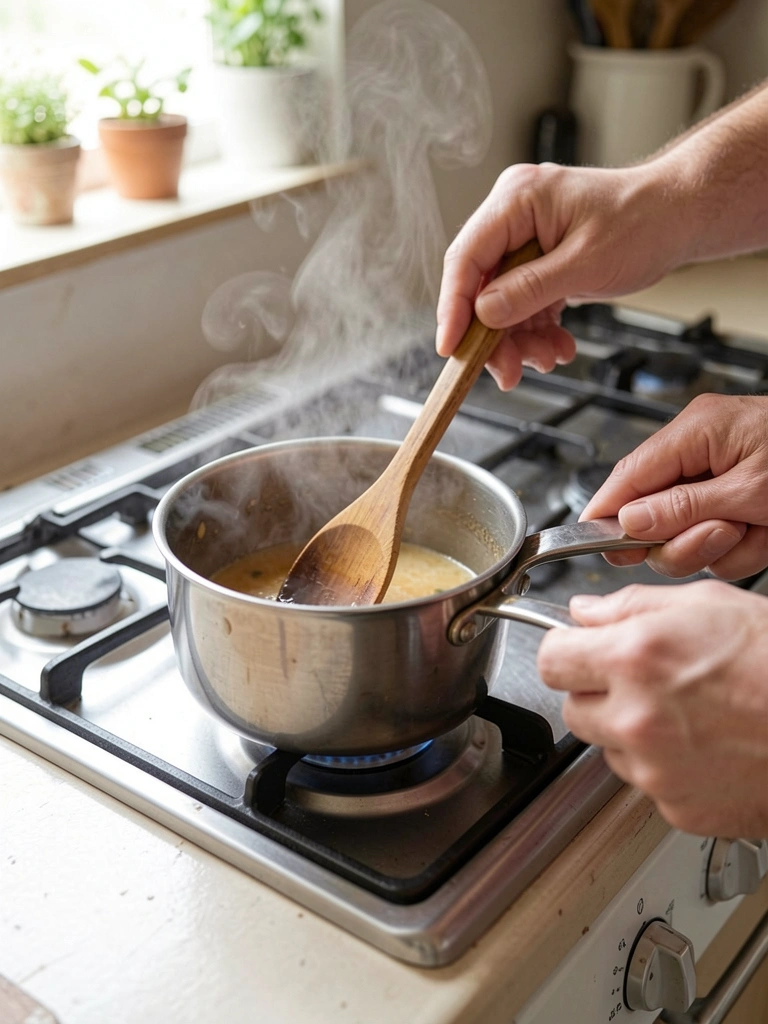
1. Measure and warm the liquid
Warm the water slightly (microwave 20–30 seconds or warm on stove to about 95–110°F) to help brown sugar dissolve quickly. Use a glass measuring cup and a kitchen thermometer if you have one.
Warming saves time and prevents graininess. If water is too hot, it can separate fats later, so keep it gently warm, not boiling.
2. Dissolve sugar and salt
Combine warmed water and brown sugar in a small saucepan over low heat. Stir constantly with a whisk until the sugar fully dissolves and the mixture looks clear and slightly glossy—about 2–3 minutes.
This step prevents gritty syrup. Visual cue: no visible sugar crystals sitting on the spoon or pan bottom.
3. Add cookie butter and emulsify
Lower heat to very low and whisk in the Biscoff cookie butter a spoonful at a time until fully incorporated. Add the salt and vanilla. Continue stirring until the mixture is smooth and homogenous, 2–4 minutes.
If the spread lumps, remove from heat and use an immersion blender or small countertop blender to emulsify until silky. This creates a uniform syrup and locks in flavor.
4. Reduce to syrup consistency
Bring the mixture to a gentle simmer on low (around 180–200°F) and cook, stirring frequently, for 4–6 minutes to slightly thicken. Watch for a glossy sheen and that the syrup coats the back of a spoon.
Why this matters: gentle reduction concentrates flavor and stabilizes the syrup. Avoid high heat to prevent scorching or separation.
5. Cool, finish, and jar
Remove from heat, stir in oil if using for extra shine, then strain through a fine-mesh sieve if you want ultra-smooth texture. Cool 15–20 minutes before transferring to a sterilized jar. Syrup will thicken as it cools but remain pourable.
Label and store at room temperature for short-term use, or refrigerate for longer shelf life (see storage below).
Adjusting Thickness
You’ll want different thicknesses depending on use—drizzling versus spooning.
- To thin: stir in 1–2 tablespoons warm water while the syrup is still warm, whisking until smooth.
- To thicken: return syrup to very low heat and reduce another 2–4 minutes, or add 1–2 tsp corn syrup for a glossy, thicker finish.
Taste and texture checks: a pourable syrup will coat the back of a spoon but stream easily. Thicker syrup clings and pours slower. Make small adjustments; it’s easier to thin than to thicken.
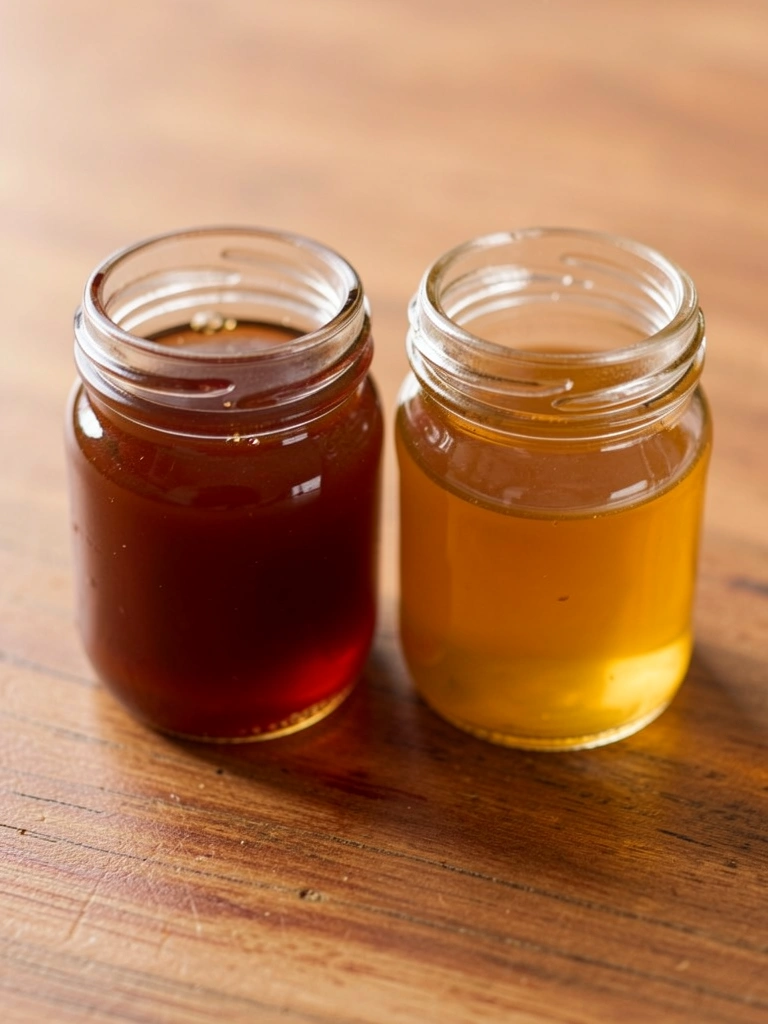
Common Mistakes & Troubleshooting
If your syrup separates (oil pooling)
- Fix: blend with an immersion blender while warm to re-emulsify. Add a teaspoon of warm water slowly if needed. Avoid high heat next time and stir constantly when combining.
If it’s grainy
- Cause: undissolved sugar. Reheat gently, whisk until smooth, or strain. Use warm water at the start to prevent this.
If it’s too sweet or bland
- Balance with a pinch more salt or a splash more vanilla. Small adjustments after cooling make a big difference—add sparingly and taste.
Scaling, Yield & Batch Sizes
This recipe makes about 1 to 1 1/4 cups of syrup. To scale up: multiply ingredients evenly and use a wider saucepan to speed evaporation.
For larger batches, stir more frequently and reduce gently in stages to prevent scorching. Store in sterilized jars; larger batches keep well refrigerated for 2–3 weeks.
Batch tip: if you plan to sell or gift, cool fully and test thickness after 24 hours—it often thickens slightly overnight.
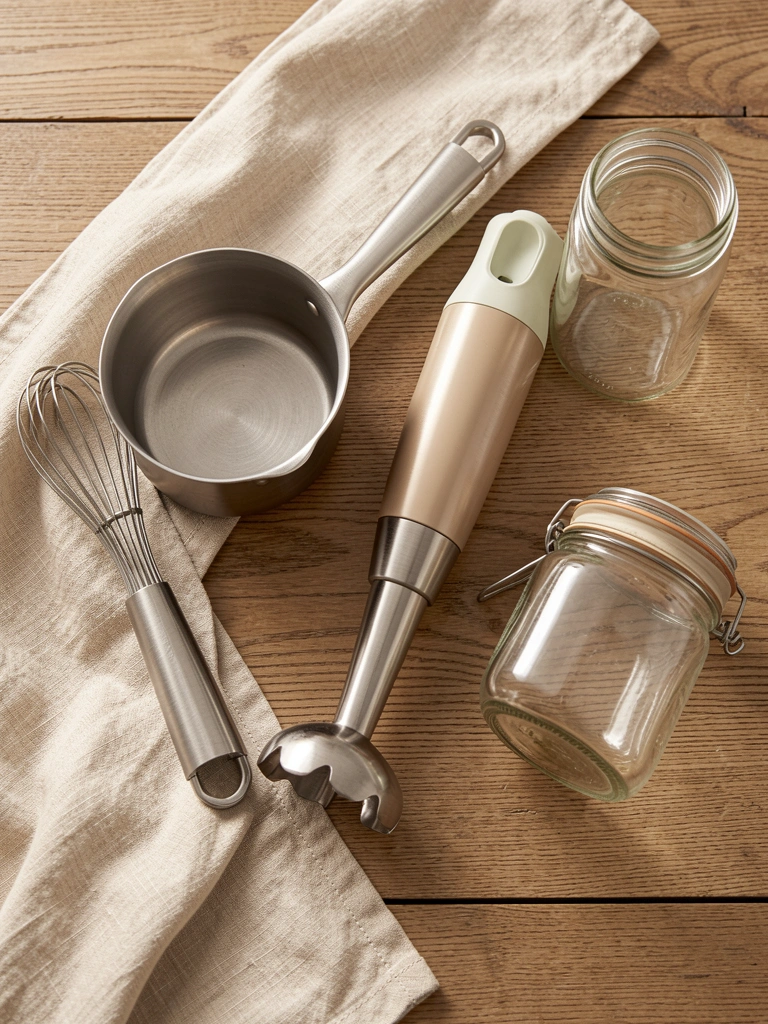
Equipment & Tools
Useful tools that make a difference:
- Small heavy-bottomed saucepan (prevents hot spots)
- Whisk and heatproof spatula for scraping
- Immersion blender (for perfectly smooth texture)
- Fine-mesh sieve (optional, for silkiness)
- Kitchen thermometer (helps maintain low heat)
Prep layout: have measured ingredients nearby and a clean jar ready. Consistent tools and a steady low heat are the keys to a silky final syrup.
Final Thoughts
You now have a straightforward method to turn Biscoff spread into a glossy, pourable syrup with precise timing and simple fixes.
Follow the low-heat steps, watch visual cues, and use an immersion blender for the silkiest results. You’ll gain confidence after one batch—small tweaks let you dial thickness and flavor exactly how you like it.