How To Make A Berry Smoothie for Kids Lunchboxes
You want a quick, nutritious berry smoothie that fits into a lunchbox and actually stays cold and spill-free. This guide walks you through exact ingredients, blending cues, and packing steps so your child gets a tasty, smooth drink at lunchtime.
No complicated steps. Just simple prep, safe packing, and kid-approved flavor.
Follow each step and tips to make smooth, portable berry smoothies you’ll repeat every week.
How To Make A Berry Smoothie for Kids Lunchboxes
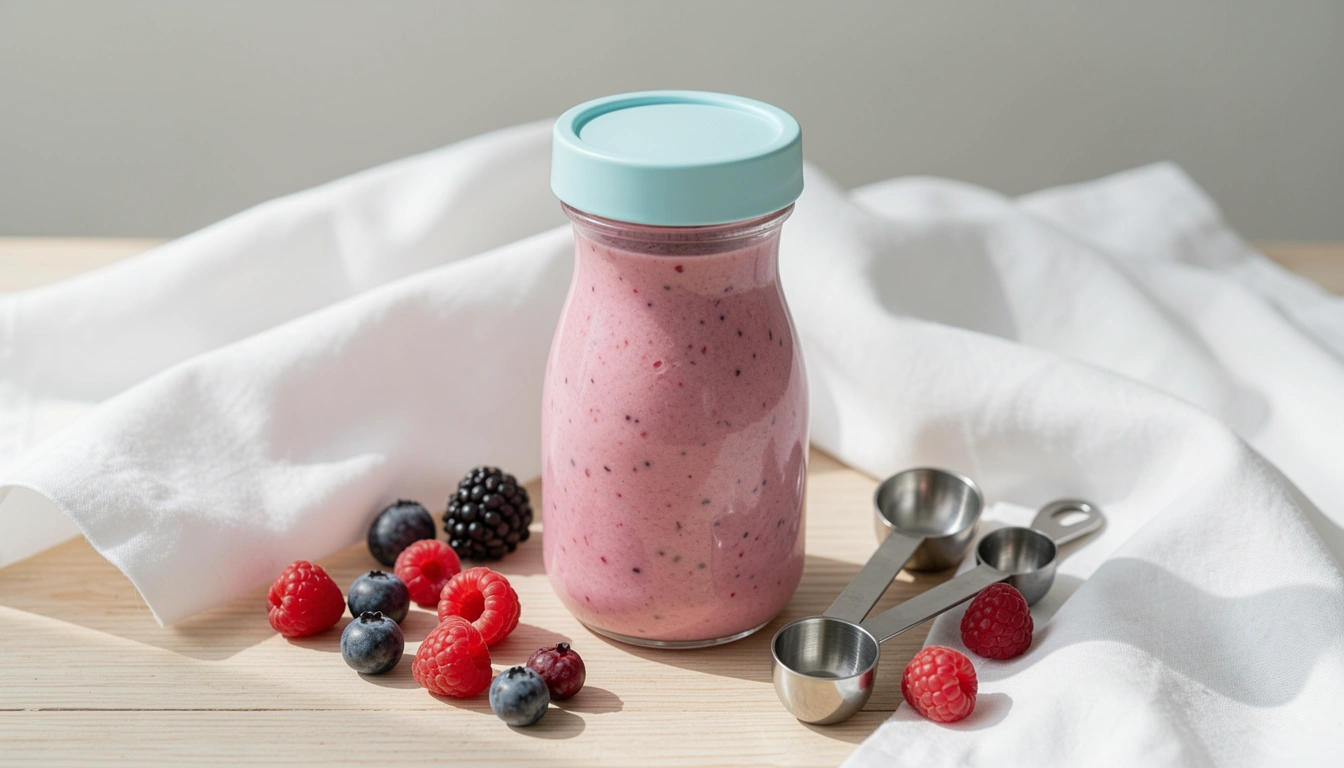
This is a creamy, slightly tangy berry smoothie—thick enough to sip but pourable into a bottle. It tastes fruity, mildly sweet, and holds texture when chilled, making it ideal for kids’ lunchboxes.
Ingredients
- 1 cup mixed berries (fresh or thawed frozen) — strawberries, blueberries, raspberries
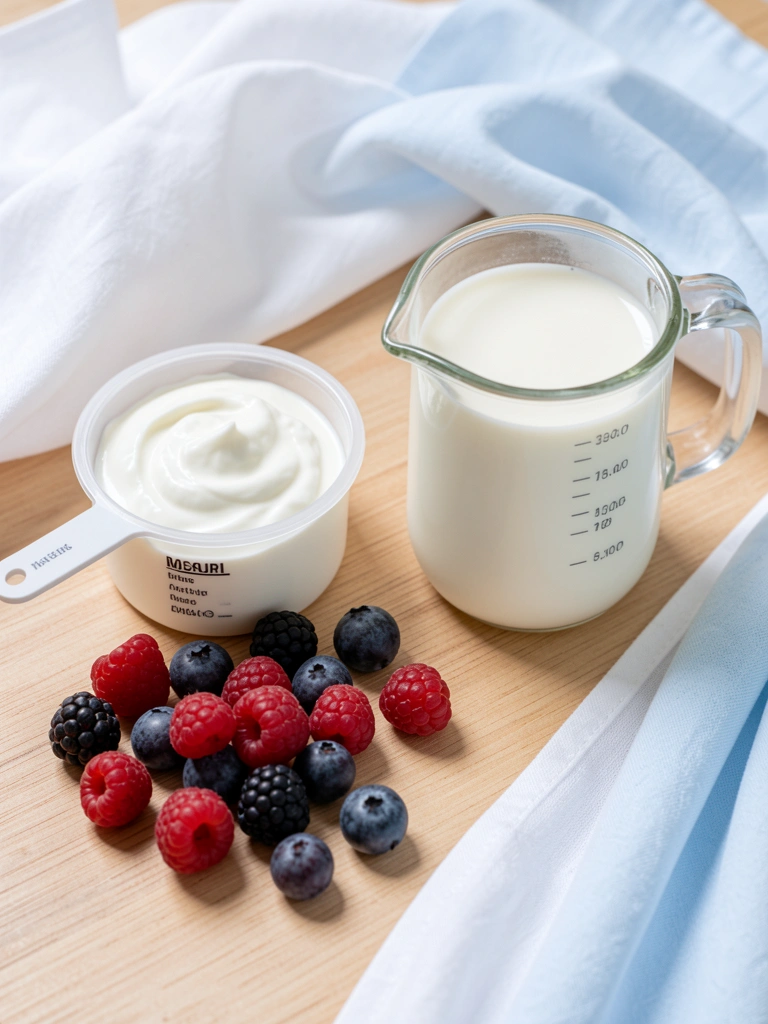
- 3/4 cup plain or vanilla yogurt — adds creaminess and protein
- 1/2 cup milk (dairy or fortified plant milk) — adjust for pourability
- 1 banana (ripe) — natural sweetener and thickener
- 1 tsp honey or maple syrup (optional, for kids over 1 year) — adjust to taste
- 3–4 ice cubes (if using fresh berries) or 2 tablespoons cold water (if frozen)
- 1/2 tsp vanilla extract (optional) — mild flavor boost
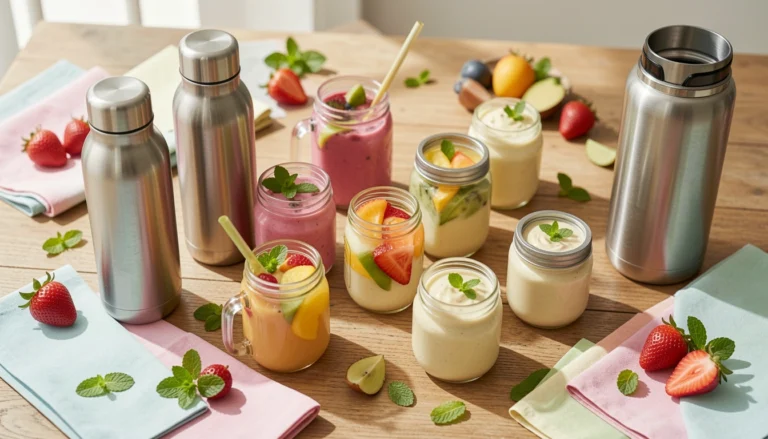
- Small squeeze bottle or 12–16 oz insulated smoothie bottle for packing
Step-By-Step Instructions
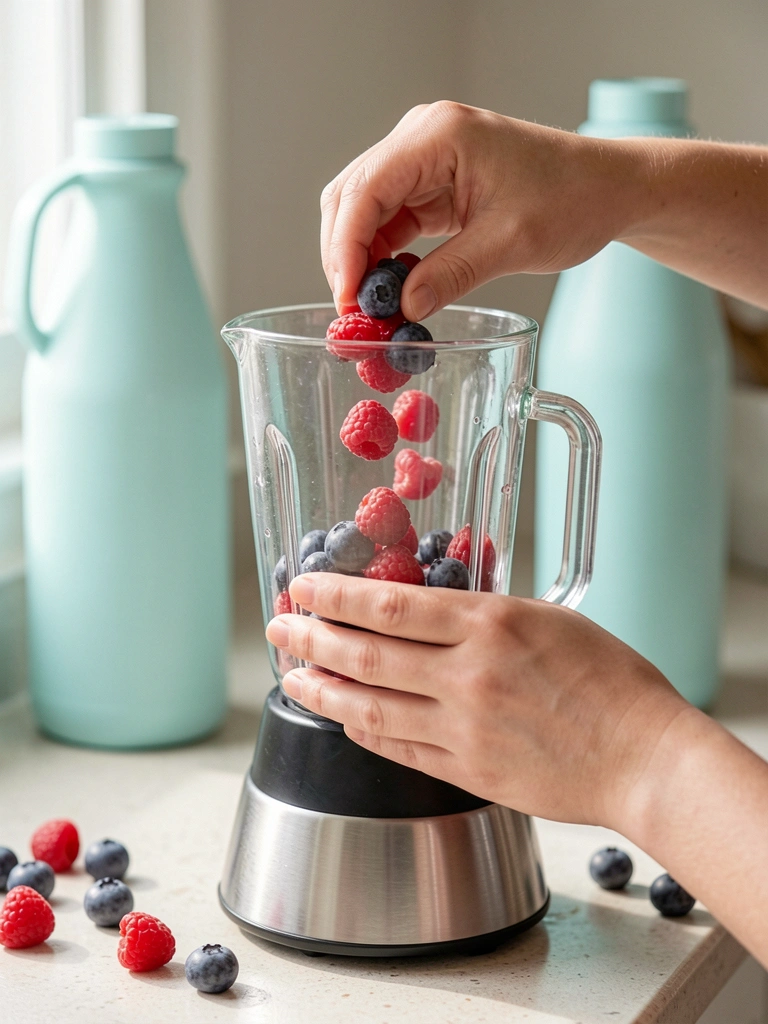
Prep the fruit
Rinse fresh berries under cold water and remove stems. If using frozen berries, run the bag under warm water briefly to loosen clumps. Slice the banana into chunks so it blends evenly. Prep matters because uniform pieces blend into a smooth texture children prefer.
Measure dairy and liquids
Pour 3/4 cup yogurt and 1/2 cup milk into your blender. Use a liquid measuring cup for accuracy. Cold dairy keeps the smoothie chilled longer in the lunchbox, and the ratio controls thickness so it’s drinkable through a straw or sip spout.
Blend in stages
Add fruit, yogurt mix, ice (or water), and vanilla into the blender. Blend on medium-high for 30–45 seconds until fully smooth. Stop and scrape sides if needed, then blend another 10 seconds. Visual cue: no visible berry seeds or chunks; the color should be consistent.
Taste and adjust
Taste a spoonful. Add 1 tsp honey if you want more sweetness. If too thick for your bottle, add 1–2 tablespoons milk and pulse 5 seconds. Small adjustments keep flavor kid-friendly and bottle-friendly.
Portion and chill
Use a funnel to pour into insulated bottles, leaving 1/2 inch headspace. Seal tightly and place upright in the fridge for at least 30 minutes, or pack with an ice pack in the lunchbox. Proper chilling prevents early separation and keeps texture pleasant.
Packing and Keeping Smoothies Cold
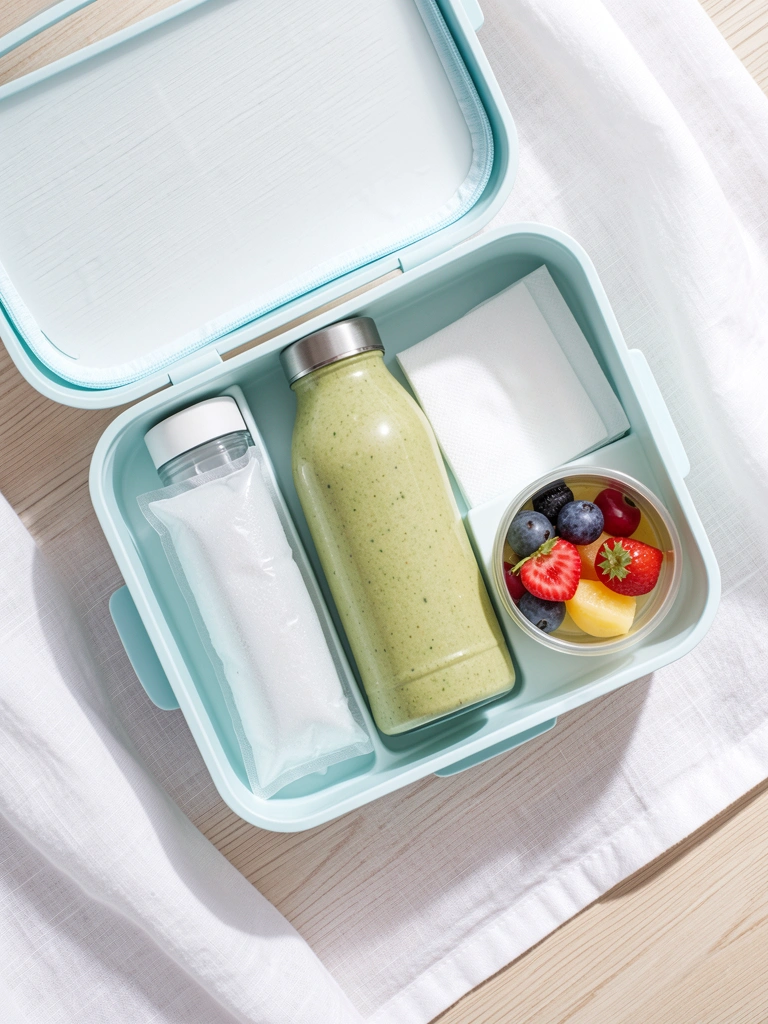
Choose an insulated bottle with a leak-proof lid. Narrow bottles fit drink spouts and are easier for kids to handle. Keep the bottle upright in the lunchbox and pair with a frozen slim ice pack placed beside it, not on top, to maintain even chilling.
If you make smoothies the night before, store them sealed in the fridge. For best texture, chill upright for 30–60 minutes before packing. Avoid full freezing in the bottle; partial freezing can expand and push out the lid.
Check lids daily for wear. Replace any bottle with loose seals to prevent spills and keep the lunchbox dry.
Simple Flavor Tweaks Kids Love
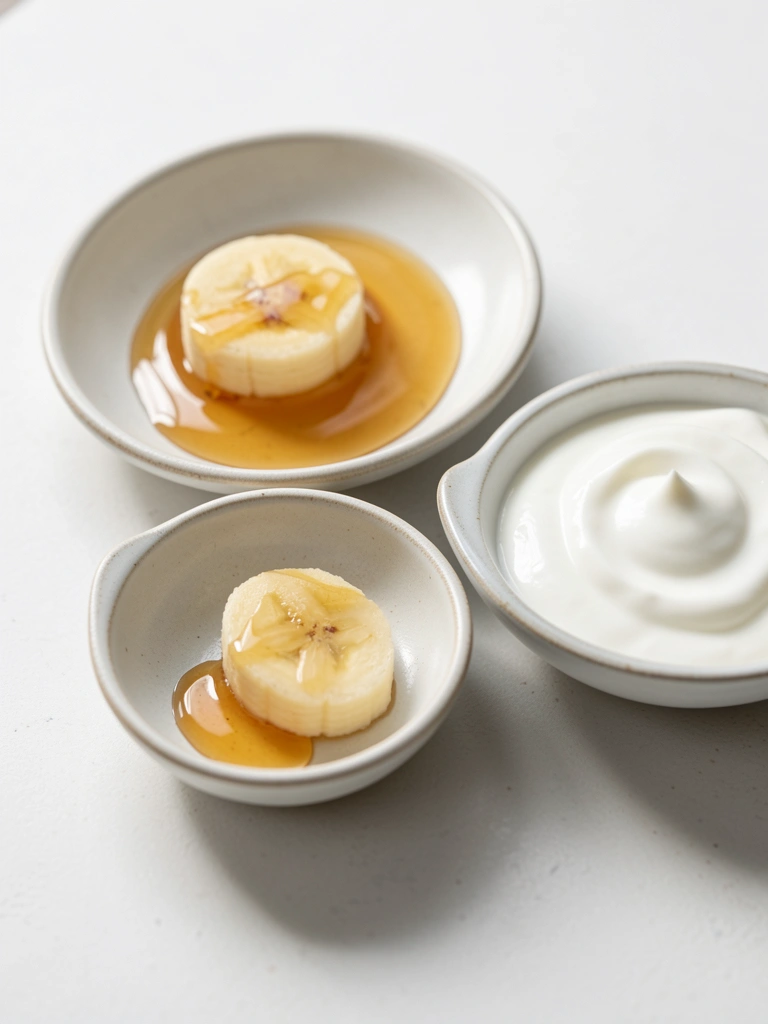
Keep flavors familiar. If your child prefers sweeter drinks, add a half banana extra or a small drizzle of honey. For creamier texture, swap half the milk for yogurt. For milder berry taste, increase banana ratio to balance tart berries.
Introduce one tweak at a time so your child recognizes the base smoothie. Simple changes help you tailor flavor without changing prep or packing steps.
Allergen & Safety Notes for Lunchboxes
Use pasteurized dairy or plant-based milk for infants over one year, and avoid honey for children under one. Clean bottles and lids after every use with warm soapy water; tiny seals trap residue and bacteria.
If your child has berry allergies, do not substitute them—this guide focuses strictly on berry-based smoothies for lunchboxes. Always check allergies at school and follow any provided food-safety rules.
Final Thoughts
You now have a clear, repeatable method for making a berry smoothie that travels well in kids’ lunchboxes. Follow the steps for smooth texture, safe packing, and chill time.
Start with the base recipe, then tweak sweetness and thickness for your child’s taste. Small routines make healthy lunches easier every day.